总结:
lvs
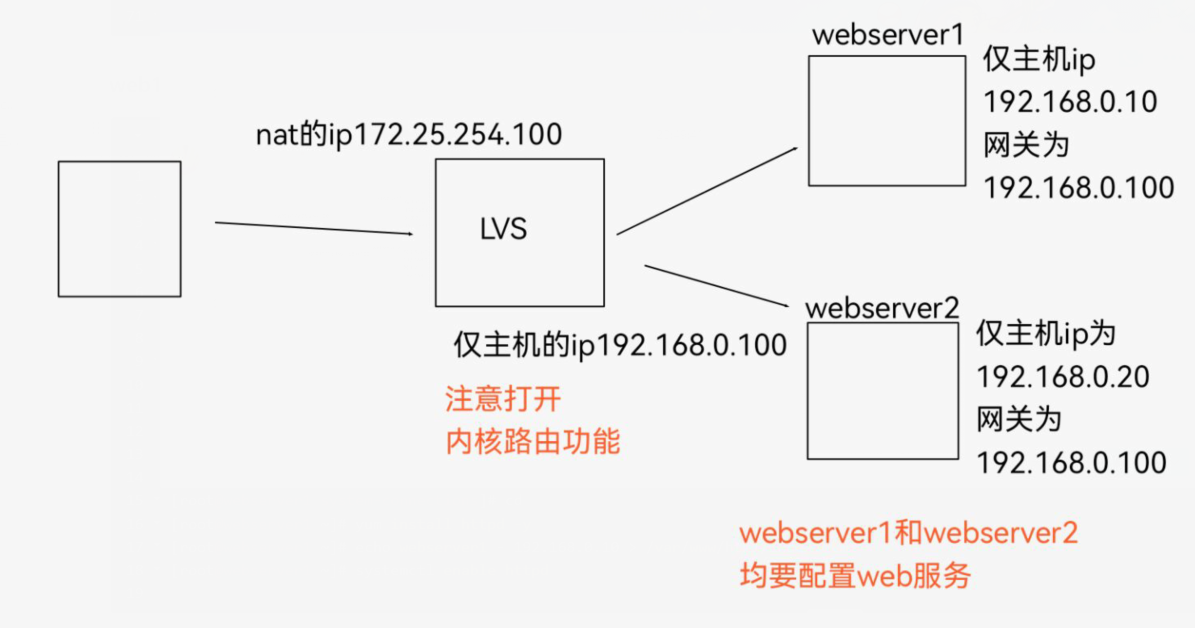
#配置环境,两个网卡
[root@lvs ~]# cd /etc/NetworkManager/system-connections/
[root@lvs system-connections]# ls
ens160.nmconnection  eth0.nmconnection  eth1.nmconnection
[root@lvs system-connections]# vim eth0.nmconnection
[connection]
id=eth0
type=ethernet
interface-name=eth0
[ipv4]
address1=172.25.254.100/24,172.25.254.2
method=manual
dns=114.114.114.114;[root@lvs system-connections]# vim eth1.nmconnection
[connection]
id=eth1
type=ethernet
interface-name=eth1
[ipv4]
address1=192.168.0.100/24
method=manual
dns=114.114.114.114;[root@lvs ~]# sysctl -a | grep ip_forward
net.ipv4.ip_forward = 0
net.ipv4.ip_forward_update_priority = 1
net.ipv4.ip_forward_use_pmtu = 0#打开内核路由功能
[root@lvs ~]# vim /etc/sysctl.conf
#添加
net.ipv4.ip_forward = 1#查看
[root@lvs ~]# sysctl -p
net.ipv4.ip_forward = 1#安装lvs
[root@lvs ~]# dnf install ipvsadm -y#查看策略
[root@lvs ~]# ipvsadm -Ln
IP Virtual Server version 1.2.1 (size=4096)
Prot LocalAddress:Port Scheduler Flags#-A增加 -t tcp -s指定调度算法 rr静态算法(你一个我一个)
[root@lvs ~]# ipvsadm -A -t 172.25.254.100:80 -s rr#查看策略
[root@lvs ~]# ipvsadm -Ln
IP Virtual Server version 1.2.1 (size=4096)
Prot LocalAddress:Port Scheduler Flags
-> RemoteAddress:Port           Forward Weight ActiveConn InActConn
TCP  172.25.254.100:80 rr[root@lvs ~]# ipvsadm -a -t 172.25.254.100:80 -r 192.168.0.10:80 -m
[root@lvs ~]# ipvsadm -a -t 172.25.254.100:80 -r 192.168.0.20:80 -m
[root@lvs ~]# ipvsadm -Ln
IP Virtual Server version 1.2.1 (size=4096)
Prot LocalAddress:Port Scheduler Flags
-> RemoteAddress:Port           Forward Weight ActiveConn InActConn
TCP  172.25.254.100:80 rr
-> 192.168.0.10:80              Masq    1      0          3
-> 192.168.0.20:80              Masq    1      0          2 #保存设置
[root@lvs ~]# ipvsadm-save > /etc/sysconfig/ipvsadm
web1
#配置IP
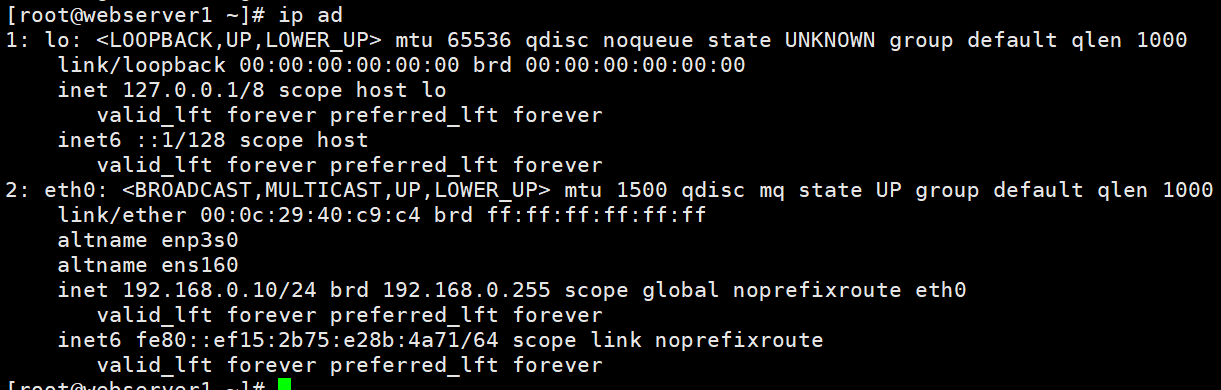
[root@webserver1 ~]# cd /etc/NetworkManager/system-connections/
[root@webserver1 system-connections]# vim eth0.nmconnectio
[connection]
id=eth0
type=ethernet
interface-name=eth0[ipv4]
address1=192.168.0.10/24,192.168.0.100
method=manual
dns=114.114.114.114;#下载并启动httpd
[root@webserver1 system-connections]# cd
[root@webserver1 ~]# yum install httpd -y
[root@webserver1 ~]# echo webserver1 - 192.168.0.10 > /var/www/html/index.html
[root@webserver1 ~]# systemctl enable httpd
web2
#配置IP
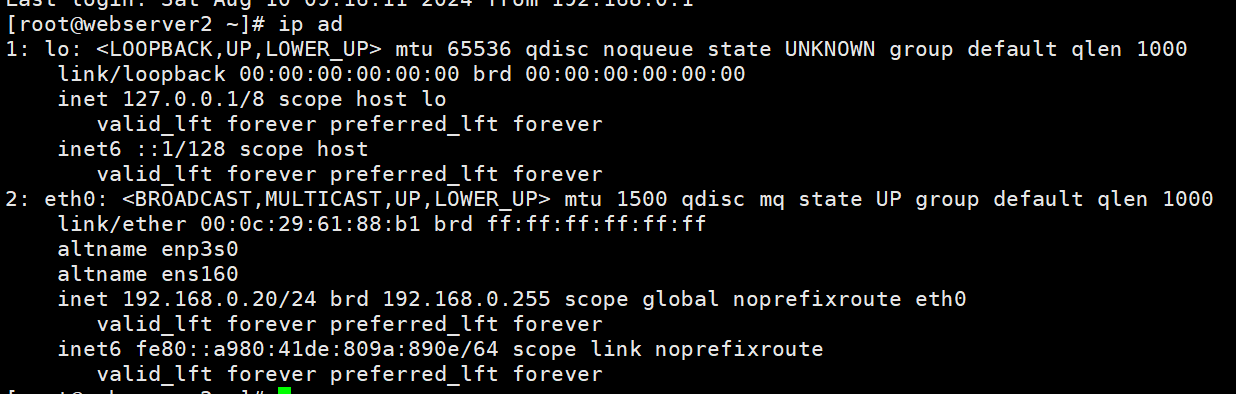
[root@webserver2 ~]# cd /etc/NetworkManager/system-connections/
[root@webserver2 system-connections]# vim eth0.nmconnectio
[connection]
id=eth0
type=ethernet
interface-name=eth0[ipv4]
address1=192.168.0.20/24,192.168.0.100
method=manual
dns=114.114.114.114;#下载并启动httpd
[root@webserver2 system-connections]# cd
[root@webserver2 ~]# yum install httpd -y
[root@webserver2 ~]# echo webserver1 - 192.168.0.20 > /var/www/html/index.html
[root@webserver2 ~]# systemctl enable httpd
测试
#注意测试的主机不能安装httpd
[root@lvs ~]# curl 172.25.254.100
webserver1 - 192.168.0.10
[root@lvs ~]# curl 172.25.254.100
webserver2 - 192.168.0.20
[root@lvs ~]# curl 172.25.254.100
webserver1 - 192.168.0.10


求解23个经典函数测试集,MATLAB)

