1. uniapp中父子组件的传值
1.1. 父子组件的传值
通过props来实现, 子组件通过props来接收父组件传过来的值
1.1.1. 父组件
<!-- 父组件 -->
<template><view><my-son :title="title"  @sendData="getSonData"></my-son><p>子组件向父组件传递数据:{{sonMsg}}</p></view>
</template>
<script>import mySon from '../../../customComponents/son'export default {components: {mySon},data() {return {title:"我是父组件",sonMsg:''}},methods:{/*** 获取子组件向父组件发送的数据*/getSonData(res){this.sonMsg=res}}}
</script>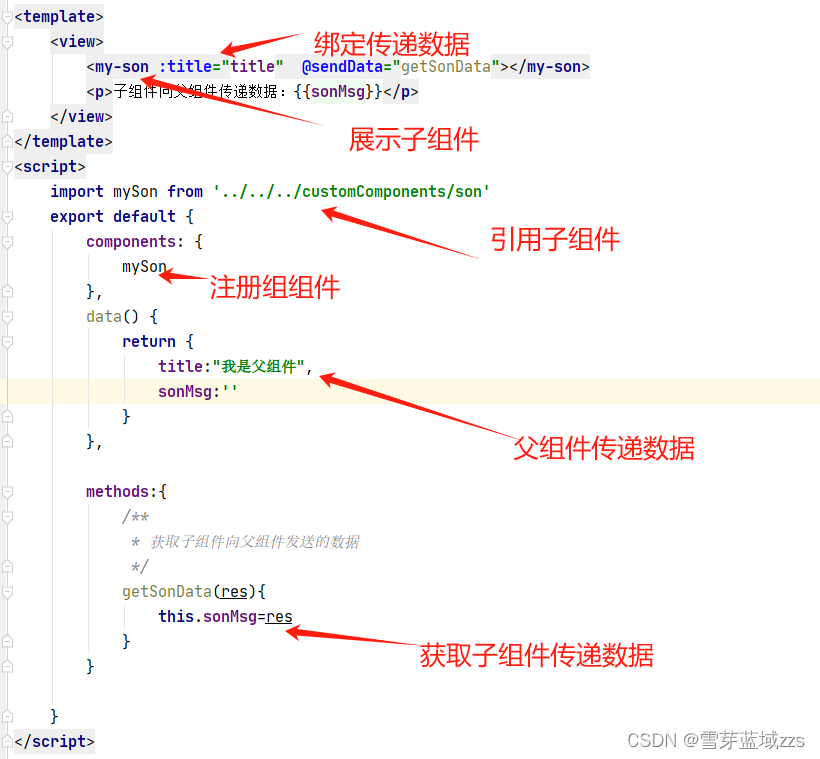
1.1.2. 子组件
通过props接收父组件中传过来的值
props:[‘list’],
<template><div><p>父传过来的值:{{title}}</p><button @click="sendSonData">子组件向父组件传递数据</button></div>
</template><script>export default {props:{title:{type:String,default:''},},methods:{sendSonData(){var that=this//子组件向父组件传递数据that.$emit("sendData", "我是子组件")}}}
</script>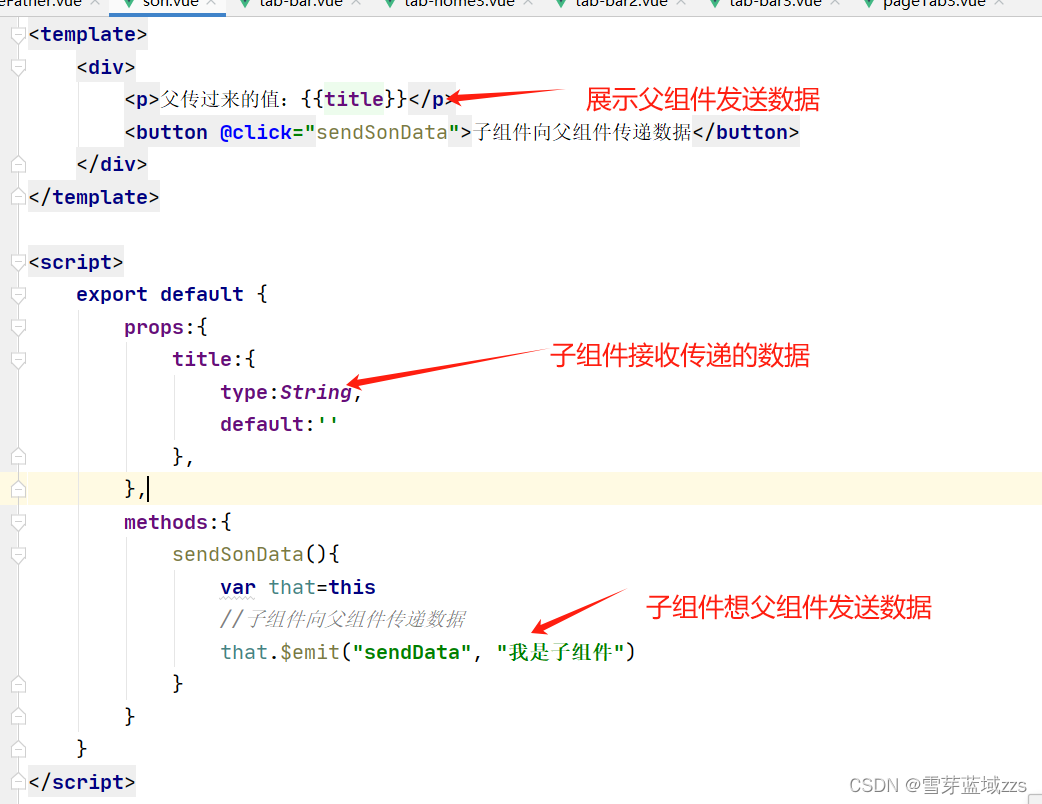
1.2. 逻辑梳理
1.2.1. 父组件
(1)第一步:引入子组件
import mySon from '../../../customComponents/son'
(2)第二步:在components中对子组件进行注册;
components: {mySon},
(3)第三步:以标签的形式载入;通过数据绑定的形式进行传值~
<my-son :title="title" @sendData="getSonData"></my-son>
1.2.2. 子组件
通过props接收父组件中传过来的值;
props:{title:{type:String,default:''},},
1.3. 实现在当前页面改变props中定义的值
官方文档:https://uniapp.dcloud.io/vue-components?id=props
在父组件中赋值时加上 .sync,在子组件中使用 this.$emit(‘update:title’,“uni-app”)改变值
.sync 修饰符
当一个子组件改变了一个 prop 的值时,这个变化也会同步到父组件中所绑定。 .sync 它会被扩展为一个自动更新父组件属性的 v-on 监听器。
<!-- 父组件 --><template><view><syncA :title.sync="title"></syncA></view></template><script>export default {data() {return {title:"hello vue.js"}}}</script>
<!-- 子组件 --><template><view><view @click="changeTitle">{{title}}</view></view></template><script>export default {props: {title: {default: "hello"},},methods:{changeTitle(){//触发一个更新事件this.$emit('update:title',"uni-app")}}}</script>
1.4. 子组件修改prop的值
1.4.1. 通过sync修饰符配合$emit,update实现
父组件:
<template><child-view :num.sync="num"></child-view>
</template>
<script>import childView from './assembly/child'export default {components: {childView},data() {return {num: 2}}}</script>
子组件:
<template><div><p>父传过来的值:{{num}}</p><button @click="changeNum">加一</button></div>
</template><script>export default {name: 'child',props:{num: {type:Number,default: 0}},methods:{changeNum(){this.$emit("update:num",this.num + 1)}}}
</script>
1.4.2. 通过v-model绑定数据源
父组件:
<template><child-view v-modal="num"></child-view>
</template>
<script>import childView from './assembly/child'export default {components: {childView},data() {return {num: 2}}}</script>
子组件:
<template><div><p>父传过来的值:{{num}}</p><input type="text" :value="value" @input="$emit('input',$event.target.value)"></div>
</template><script>export default {name: 'child',props:["value"]}
</script>
1.4.3. 通过父传子,子调用父方法传参数实现
父组件:
<template><child-view :num="num" @updateNum="updateNum"></child-view>
</template>
<script>import childView from './assembly/child'export default {components: {childView},data() {return {num: 2}},methods: {updateNum(num){this.num = num}}</script>
子组件
<template><div><p>父传过来的值:{{num}}</p><button @click="changeNum">加一</button></div>
</template><script>export default {name: 'child',props:{num: {type:Number,default: 0}},methods:{changeNum(){this.$emit("updateNum",this.num + 1)}}}


)


