目录
项目总结
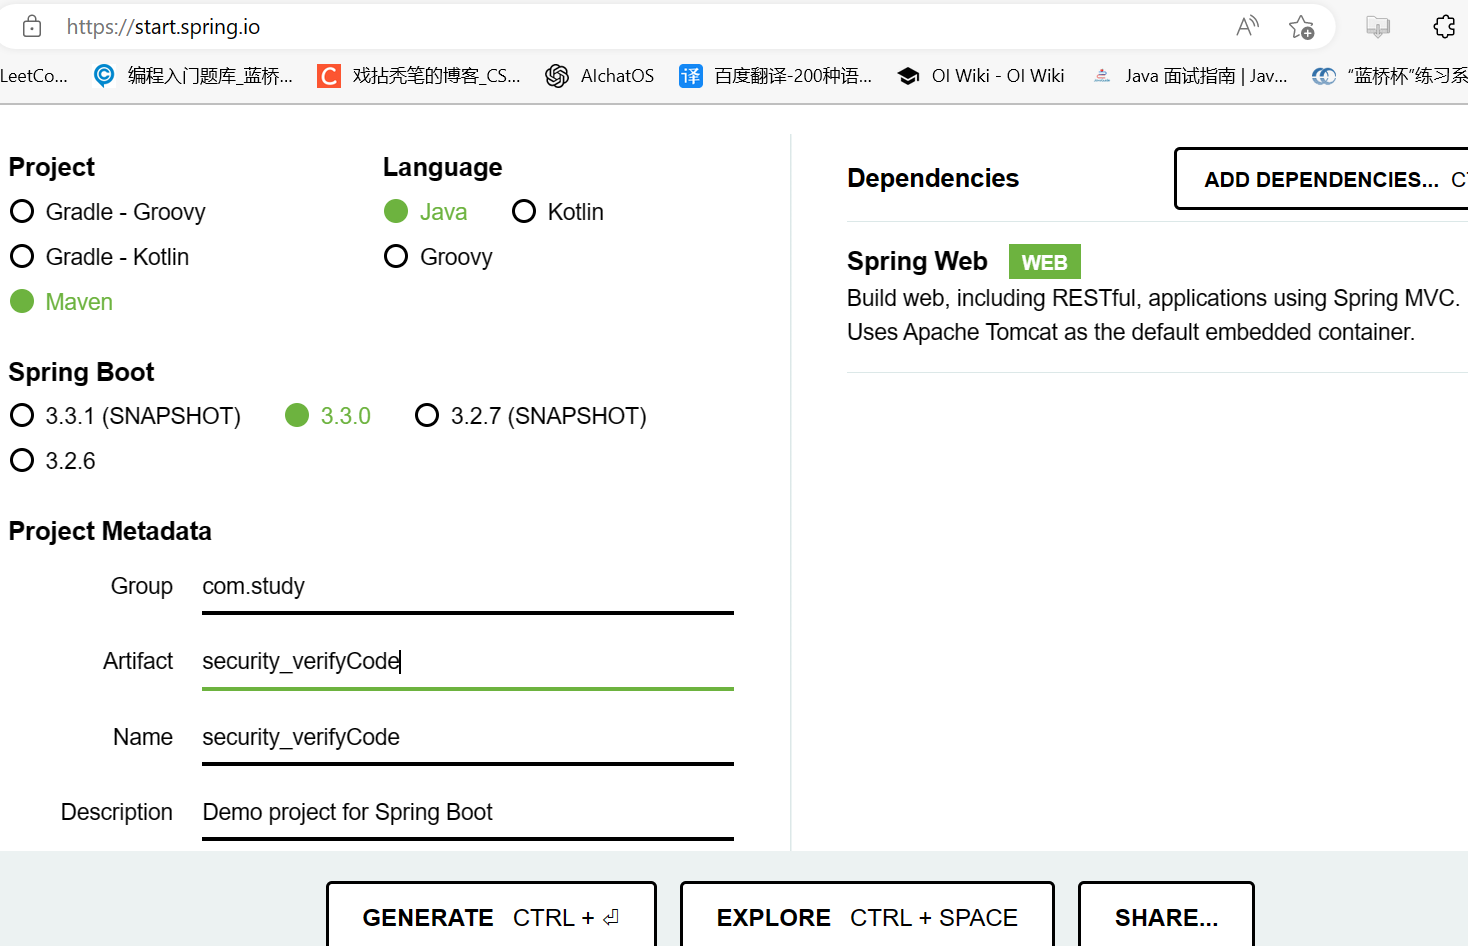
新建一个SpringBoot项目
VerifyCode(生成验证码的工具类)
WebSecurityController控制器
VerifyCodeFilter(自定义过滤器)
WebSecurityConfig配置类
login.html登录页面
项目测试
- 本项目是以上一篇文章的项目为基础,添加了验证码部分的,故此文只贴出添加验证码的核心代码部分,两个项目相同部分代码则省略,详请查阅另一篇文章:http://t.csdnimg.cn/v0vnY
- 项目的功能要逐个添加,慢慢调试代码,先保证项目能成功使用用户名和密码登录,再添加验证码模块,否则一团上,报错后,不容易找到问题所在
- 如果实在找不到错误,不妨推翻重来一遍
- 在Spring Boot项目中添加验证码是一种常见的安全措施,尤其是在登录过程或其他需要身份验证的操作时
项目总结
- 用户请求页面:用户访问登录页面login.html。
- 生成验证码:服务器生成验证码并将其展示在登录页面上,同时将验证码存储在用户会话中以便后续验证。
- 用户提交表单:用户输入用户名、密码以及验证码,并提交登录表单。
- 验证验证码:服务器接收登录请求,首先验证用户输入的验证码是否正确。
- 验证用户名和密码:如果验证码正确,则继续验证用户名和密码;如果验证码错误,则返回错误信息并阻止登录过程。
- 完成认证:如果用户名和密码也正确,则用户登录成功,进入系统;否则,返回错误提示。
新建一个SpringBoot项目
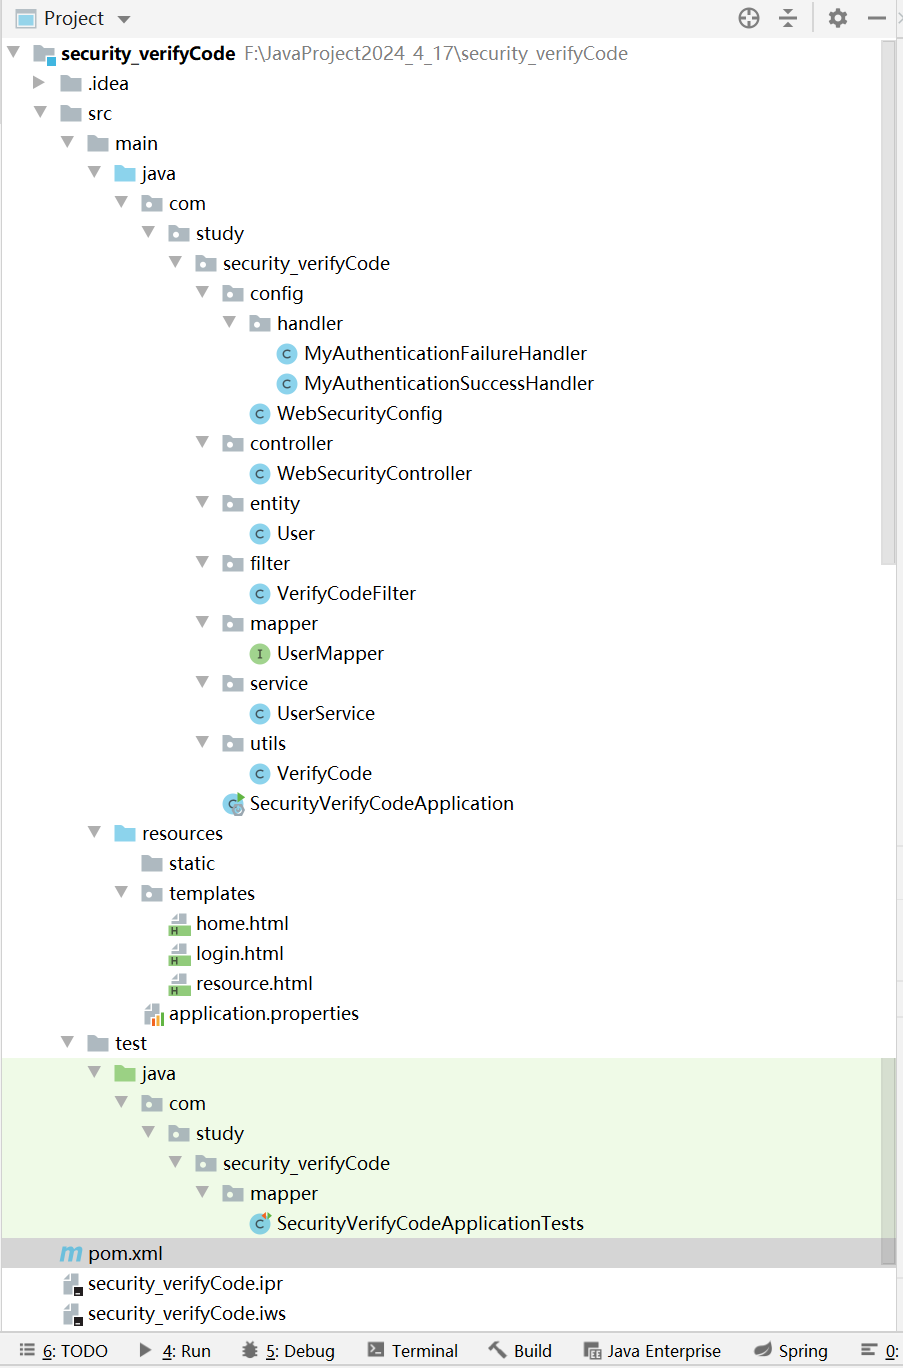
项目结构:
VerifyCode(生成验证码的工具类)
package com.study.security_verifyCode.utils;import javax.imageio.ImageIO;
import java.awt.*;
import java.awt.image.BufferedImage;
import java.io.IOException;
import java.io.OutputStream;
import java.util.Random;/*** 生成验证码的工具类*/
public class VerifyCode {private int width = 100;// 生成验证码图片的宽度private int height = 50;// 生成验证码图片的高度private String[] fontNames = { "宋体", "楷体", "隶书", "微软雅黑" };private Color bgColor = new Color(255, 255, 255);// 定义验证码图片的背景颜色为白色private Random random = new Random();private String codes = "0123456789abcdefghijklmnopqrstuvwxyzABCDEFGHIJKLMNOPQRSTUVWXYZ";private String text;// 记录随机字符串/*** 获取一个随意颜色** @return*/private Color randomColor() {int red = random.nextInt(150);int green = random.nextInt(150);int blue = random.nextInt(150);return new Color(red, green, blue);}/*** 获取一个随机字体** @return*/private Font randomFont() {String name = fontNames[random.nextInt(fontNames.length)];int style = random.nextInt(4);int size = random.nextInt(5) + 24;return new Font(name, style, size);}/*** 获取一个随机字符** @return*/private char randomChar() {return codes.charAt(random.nextInt(codes.length()));}/*** 创建一个空白的BufferedImage对象** @return*/private BufferedImage createImage() {BufferedImage image = new BufferedImage(width, height, BufferedImage.TYPE_INT_RGB);Graphics2D g2 = (Graphics2D) image.getGraphics();g2.setColor(bgColor);// 设置验证码图片的背景颜色g2.fillRect(0, 0, width, height);return image;}public BufferedImage getImage() {BufferedImage image = createImage();Graphics2D g2 = (Graphics2D) image.getGraphics();StringBuffer sb = new StringBuffer();for (int i = 0; i < 4; i++) {String s = randomChar() + "";sb.append(s);g2.setColor(randomColor());g2.setFont(randomFont());float x = i * width * 1.0f / 4;g2.drawString(s, x, height - 15);}this.text = sb.toString();drawLine(image);return image;}/*** 绘制干扰线** @param image*/private void drawLine(BufferedImage image) {Graphics2D g2 = (Graphics2D) image.getGraphics();int num = 5;for (int i = 0; i < num; i++) {int x1 = random.nextInt(width);int y1 = random.nextInt(height);int x2 = random.nextInt(width);int y2 = random.nextInt(height);g2.setColor(randomColor());g2.setStroke(new BasicStroke(1.5f));g2.drawLine(x1, y1, x2, y2);}}public String getText() {return text;}/*** 绘制验证码图片*/public static void output(BufferedImage image, OutputStream out) throws IOException {ImageIO.write(image, "JPEG", out);}
}
WebSecurityController控制器
package com.study.security_verifyCode.controller;import com.study.security_verifyCode.utils.VerifyCode;
import org.springframework.stereotype.Controller;
import org.springframework.web.bind.annotation.GetMapping;
import org.springframework.web.bind.annotation.Mapping;
import org.springframework.web.bind.annotation.PostMapping;
import org.springframework.web.bind.annotation.ResponseBody;import javax.servlet.http.HttpServletRequest;
import javax.servlet.http.HttpServletResponse;
import javax.servlet.http.HttpSession;
import java.awt.image.BufferedImage;
import java.io.IOException;/*** 1.将configure(HttpSecurity http)方法中设置的不同的URL映射到不同的页面* 2.方法返回的是视图名称,需要视图解析器将视图名称解析成实际的HTML文件* 然后访问url就可以跳转到HTML页面了,否则返回的只是一个字符串* 3.在application.properties配置文件中配置视图解析器,springboot已经默认配置好了,你不用写了*/
@Controller
public class WebSecurityController {/*** 登录后跳转到home.html页面*/@GetMapping("/home")public String home(){return "home";}/*** 登录页面*/@GetMapping("/login")public String login(){return "login";//login.html}/*** 当访问/resource时,会重定向到/login,登录后才可以访问受保护的页面resource.html*/@GetMapping("/resource")public String resource(){return "resource";//resource.html}@GetMapping("/verifyCode")public void code(HttpServletRequest req, HttpServletResponse resp) throws IOException {// 创建验证码工具类实例VerifyCode vc = new VerifyCode();// 生成验证码图片BufferedImage image = vc.getImage();// 获取验证码文本String text = vc.getText();// 获取当前HTTP会话对象HttpSession session = req.getSession();// 将验证码文本存储到会话中,用于后续验证session.setAttribute("verify_code",text);// 将验证码图片写入HTTP响应流,返回给客户端VerifyCode.output(image,resp.getOutputStream());}
}
VerifyCodeFilter(自定义过滤器)
package com.study.security_verifyCode.filter;import org.springframework.security.authentication.AuthenticationServiceException;
import org.springframework.stereotype.Component;
import org.springframework.util.StringUtils;
import org.springframework.web.filter.GenericFilterBean;import javax.servlet.*;
import javax.servlet.http.HttpServletRequest;
import javax.servlet.http.HttpServletResponse;
import java.io.IOException;/*** VerifyCodeFilter 是一个自定义过滤器,用于在用户登录时验证验证码的正确性。*/
@Component
public class VerifyCodeFilter extends GenericFilterBean {// 默认处理登录请求的URLprivate String defaultFilterProcessUrl = "/login";/*** 过滤器的核心方法,用于拦截和处理请求。*/@Overridepublic void doFilter(ServletRequest req, ServletResponse res, FilterChain chain) throws IOException, ServletException {// 将ServletRequest和ServletResponse转换为HttpServletRequest和HttpServletResponseHttpServletRequest request = (HttpServletRequest) req;HttpServletResponse response = (HttpServletResponse) res;// 检查请求是否是POST方法,并且请求路径是否匹配登录路径if ("POST".equalsIgnoreCase(request.getMethod()) && defaultFilterProcessUrl.equals(request.getServletPath())) {// 获取请求中的验证码和会话中生成的验证码String requestCaptcha = request.getParameter("code");String genCaptcha = (String) request.getSession().getAttribute("verify_code");// 验证验证码是否为空if (StringUtils.isEmpty(requestCaptcha)) {throw new AuthenticationServiceException("验证码不能为空!");}// 验证验证码是否匹配(忽略大小写)if (!genCaptcha.toLowerCase().equals(requestCaptcha.toLowerCase())) {throw new AuthenticationServiceException("验证码错误!");}}// 如果验证码正确,则使请求继续往下走chain.doFilter(request, response);}
}
WebSecurityConfig配置类
package com.study.security_verifyCode.config;import com.study.security_verifyCode.config.handler.MyAuthenticationFailureHandler;
import com.study.security_verifyCode.config.handler.MyAuthenticationSuccessHandler;
import com.study.security_verifyCode.filter.VerifyCodeFilter;
import org.springframework.beans.factory.annotation.Autowired;
import org.springframework.context.annotation.Bean;
import org.springframework.security.config.annotation.web.builders.HttpSecurity;
import org.springframework.security.config.annotation.web.builders.WebSecurity;
import org.springframework.security.config.annotation.web.configuration.EnableWebSecurity;
import org.springframework.security.config.annotation.web.configuration.WebSecurityConfigurerAdapter;
import org.springframework.security.crypto.bcrypt.BCryptPasswordEncoder;
import org.springframework.security.crypto.password.PasswordEncoder;
import org.springframework.security.web.authentication.AuthenticationFailureHandler;
import org.springframework.security.web.authentication.AuthenticationSuccessHandler;
import org.springframework.security.web.authentication.UsernamePasswordAuthenticationFilter;@EnableWebSecurity//声明这是一个Spring Security安全配置类,无需再另加注解@Configuration
public class WebSecurityConfig extends WebSecurityConfigurerAdapter {@Autowiredprivate MyAuthenticationSuccessHandler authenticationSuccessHandler;@Autowiredprivate MyAuthenticationFailureHandler authenticationFailureHandler;@Autowiredprivate VerifyCodeFilter verifyCodeFilter;//配置当前项目的登录和拦截信息@Overrideprotected void configure(HttpSecurity http) throws Exception {//确保在用户尝试进行用户名和密码验证之前,先进行验证码的验证,如果验证码不对,就不需要再验证用户名和密码了http.addFilterBefore(verifyCodeFilter, UsernamePasswordAuthenticationFilter.class);http.authorizeRequests()//允许所有用户访问.antMatchers("/home","/login","/verifyCode").permitAll().anyRequest().authenticated().and().formLogin().loginPage("/login")//指定登录页面.loginProcessingUrl("/login").successHandler(authenticationSuccessHandler)//验证成功的处理器.failureHandler(authenticationFailureHandler)//验证失败的处理器//身份验证成功后默认重定向的页面.defaultSuccessUrl("/home",true).permitAll().and().logout().permitAll().and().csrf().disable();}/*** 密码编码器*/@Beanpublic PasswordEncoder passwordEncoder(){return new BCryptPasswordEncoder();}
}
login.html登录页面
<!DOCTYPE html>
<html lang="en" xmlns:th="http://www.thymeleaf.org">
<head><meta charset="UTF-8"><title>登录页面</title><script>//点击图片就能更新验证码function updateVerifyCode() {// 获取当前时间戳,防止浏览器缓存const timestamp = new Date().getTime();// 获取验证码图片元素const vcImage = document.getElementById('vcImage');// 更新图片的 src 属性,添加时间戳参数vcImage.src = `/verifyCode?time=${timestamp}`;}</script>
</head>
<body><div><!-- 当Spring Security验证失败时,会在URL上附加error查询参数,形式为:http://localhost:8080/login?error --><div class="error" th:if="${param.error}">用户名或密码错误</div><form th:action="@{/login}" method="post"><div class="form-group"><label for="username">用户名:</label><inputid="username"name="username"placeholder="请输入用户名"type="text"required/></div><div class="form-group"><label for="password">密码:</label><inputid="password"name="password"placeholder="请输入密码"type="password"required/></div><div class="form-group"><label for="code">验证码:</label><inputid="code"name="code"type="text"placeholder="点击图片更换验证码"required/><imgid="vcImage"src="/verifyCode?time="alt="验证码"onclick="updateVerifyCode()"></div><div class="submit"><input type="submit" value="登录"/></div></form>
</div>
</body>
</html>
项目测试
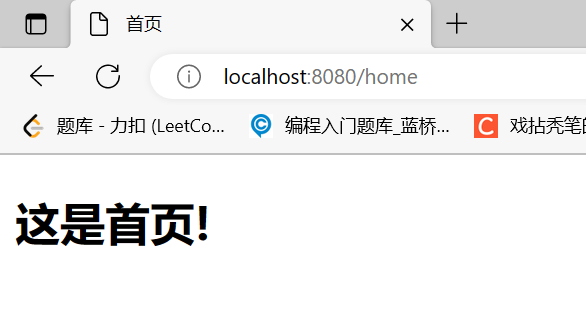
- 访问网址:http://localhost:8080/login
- 正确登录:
- 验证码错误,控制台会打印出错误信息


)

)


