1. 编辑框
这里以实现 hello world 为例
即 使用 编辑框 完成 Hello World
图形化方式
单行编辑框 QLineEdit
多行编辑框 QTextEdit
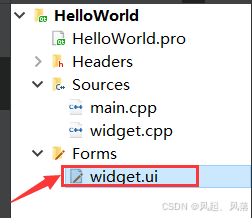
点击 widget.ui 并打开 调用 Qt designer 这个图形化工具 完成窗口界面的编辑
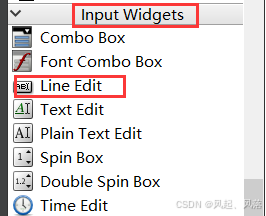
在 Input Widgets 下 找到 Line Edit
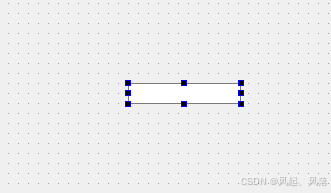
将 Line Edit 拖拽 到 右侧的框中
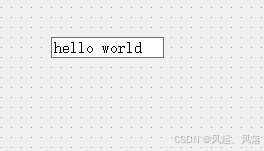
在空白处 输入 hello world
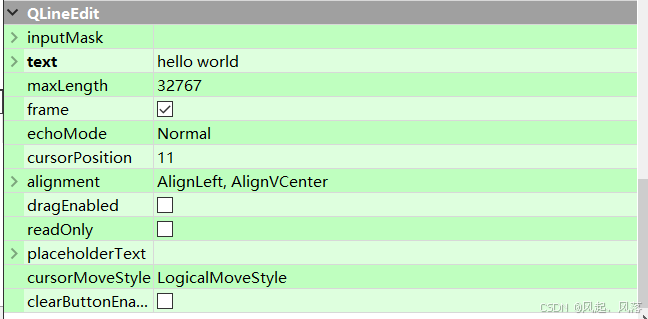
也可以通过右侧的属性 编辑区进行修改
text 表示 编辑框中的文本
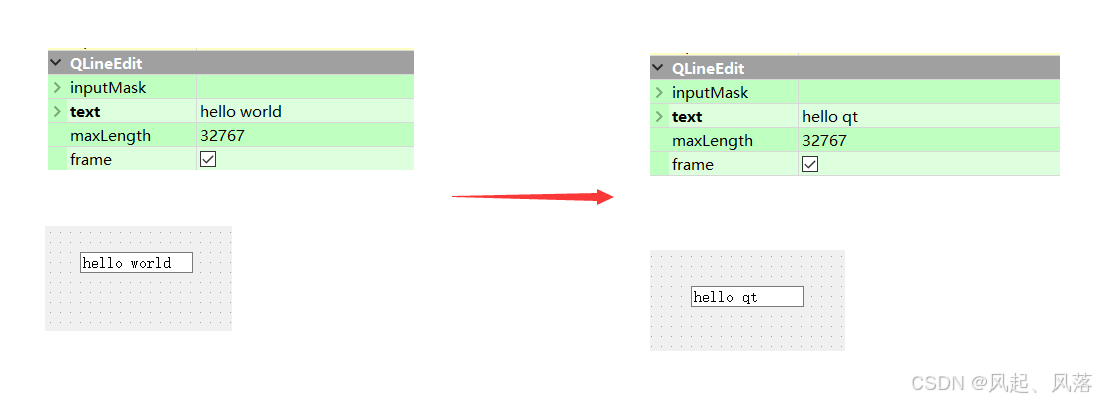
若在text 对应的编辑框中进行修改 则 对应的白色框中内容也会被修改
同时 点击运行后 生成的文本框 也是可以编辑的
纯代码方式

在 widget.cpp文件中 先将头文件 #include 加上
再new 一个对象 edit
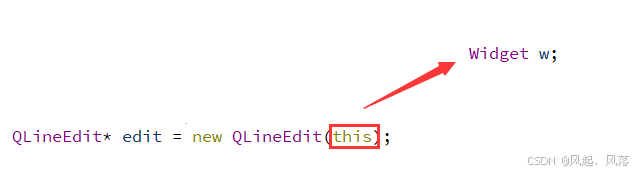
this指向的父对象 是 widget 对象 (与前面QLabel用法类似)

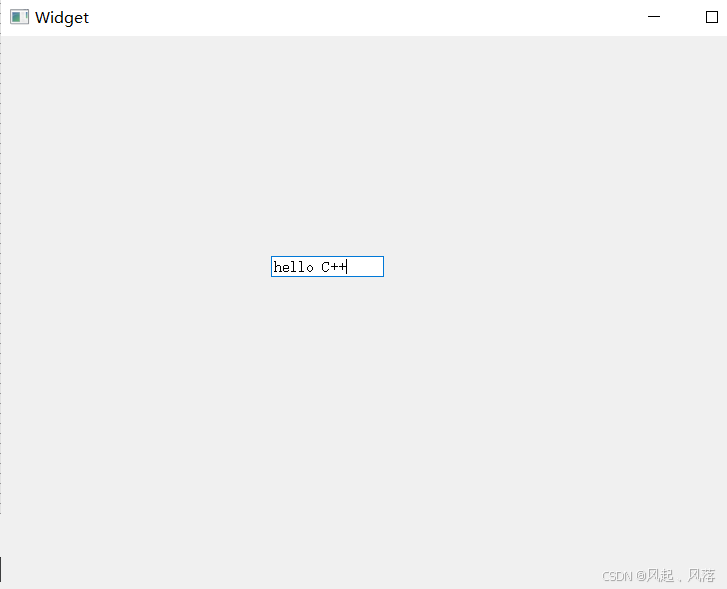
运行程序后 发现当前文本框 同样是可以编辑的
2. 按钮
这里以实现 hello world 为例
即 使用 按钮 完成 Hello World
图形化方式
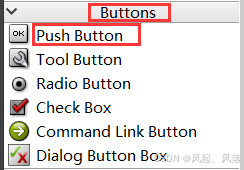
在 Buttons 中 存在 一个 Push Button
Push Button 表示 普通按钮
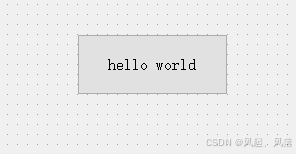
将 Push Button 拖拽到 右侧框中 并输入 hello world
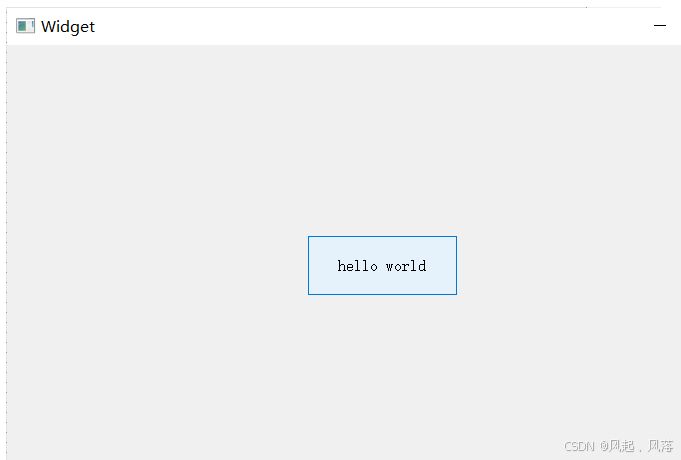
运行后 生成文本框 发现框中的 hello world 按钮 可以点击
但是发现点击按钮 并没有反应
就要引入 Qt中的 信号槽 机制 (简单演示使用方式 后续会详细介绍)
本质为 给按钮的点击操作 关联上一个处理函数 即当用户点击的时候 会执行这个处理函数

在 Qt designer 中 创建 一个 控件( push Button) 时 就会给 该控件分配一个objectName 的属性
本这个属性的值 要求在界面上是唯一的 (不能和别人重复)
qmake 在预处理 .ui文件时 就会根据 这里的 objectName 生成对应的 C++代码
C++代码中该 PushButton 对象的变量名字 就是这里的 objectName

给按钮添加 点击处理操作
connect 是 QObject 这个类 提供的静态函数
connect 函数 的作用为 连接信号 和 槽
第一个参数 表示 信号是谁发的 ui->pushButton 就可以访问到 form file (ui 文件) 中创建的控件pushButton
第二个参数 为 函数指针 &QPushButton::clicked 表示 点击按钮时 会触发这样的信号
第三个参数 那个对象的槽函数 this 指向父对象 即 widget对象的槽函数
connect 函数的 第四个参数 函数指针 指定具体处理的函数 &Widget::hanleClick (自己写的)
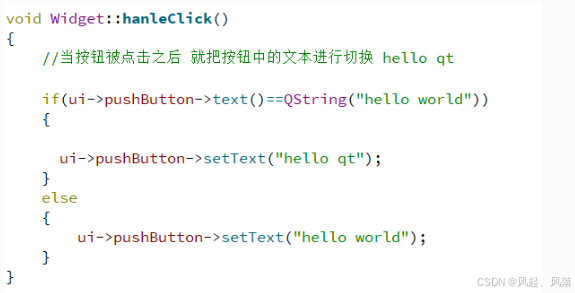
若当前按钮为 hello world 则切换为 hello qt
若当前按钮为 hello qt 则切换为 hello world
当点击 ui->pushButton 时 会自动触发 &QPushButton::clicked 信号 由 widget对象处理信号
具体按照 &Widget::hanleClick(自己写的) 处理信号
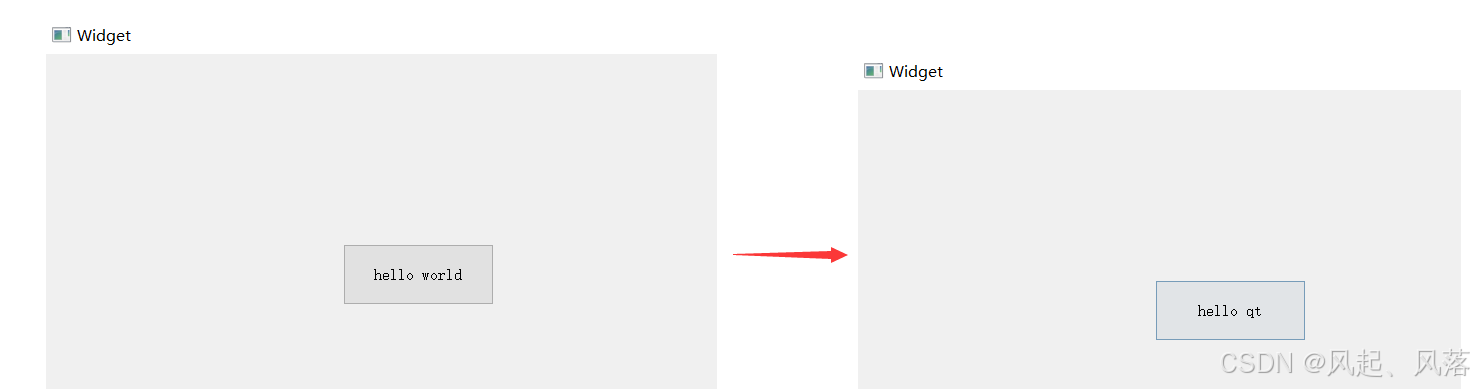
当运行程序时 按钮为 hello world 当点击按钮后 就会变成 hello qt
)

)


