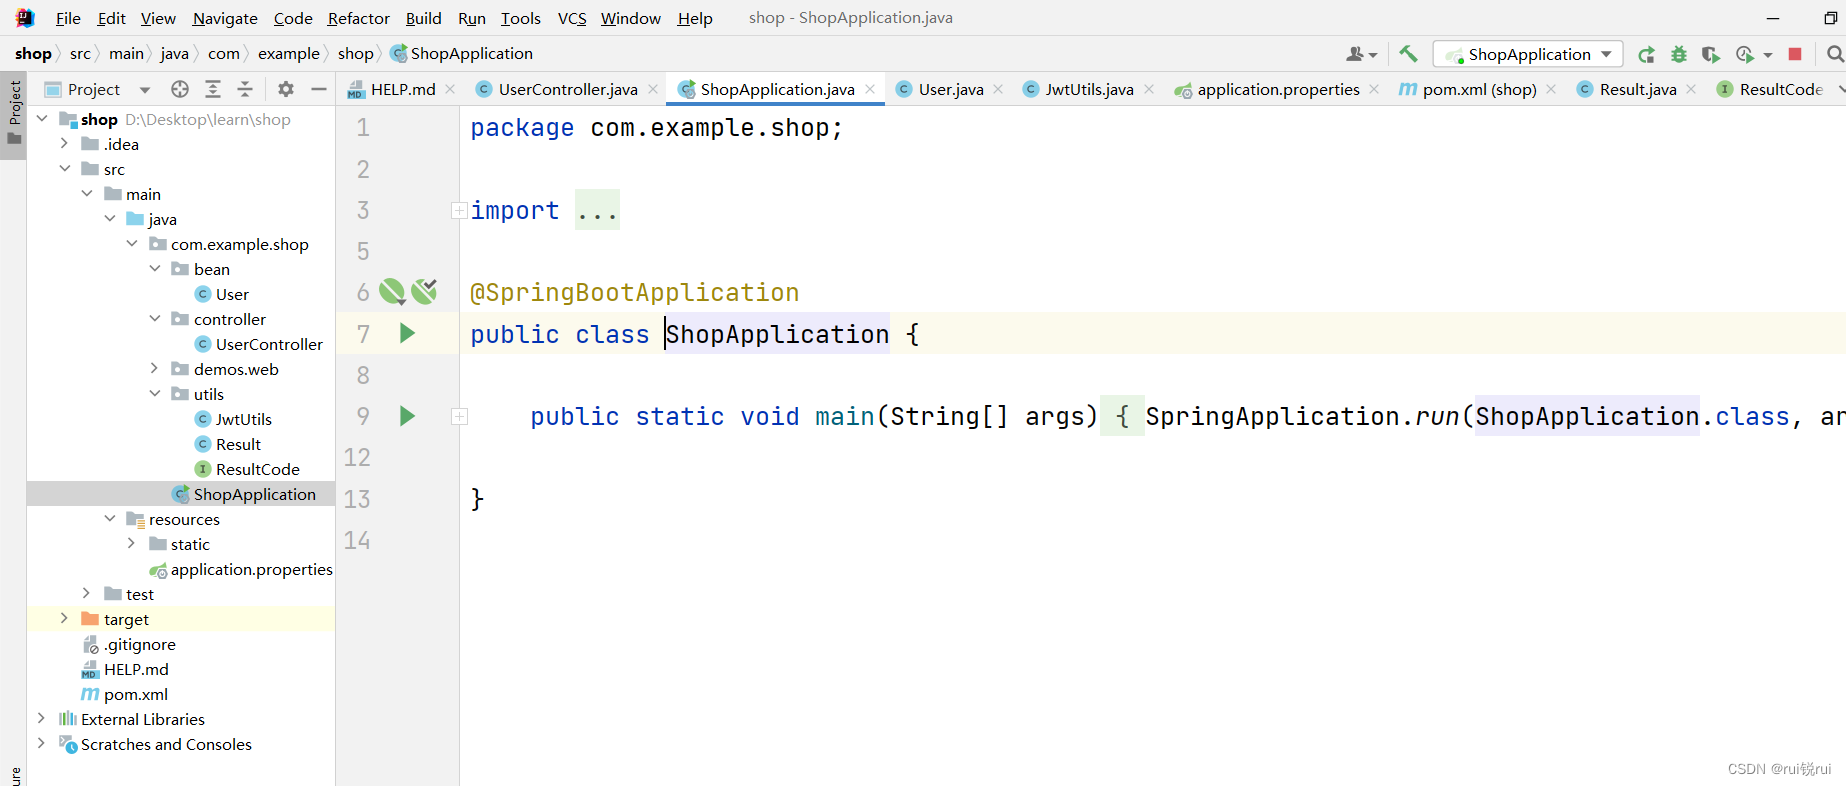
新建shop项目
新建bean包,再其包下新建User
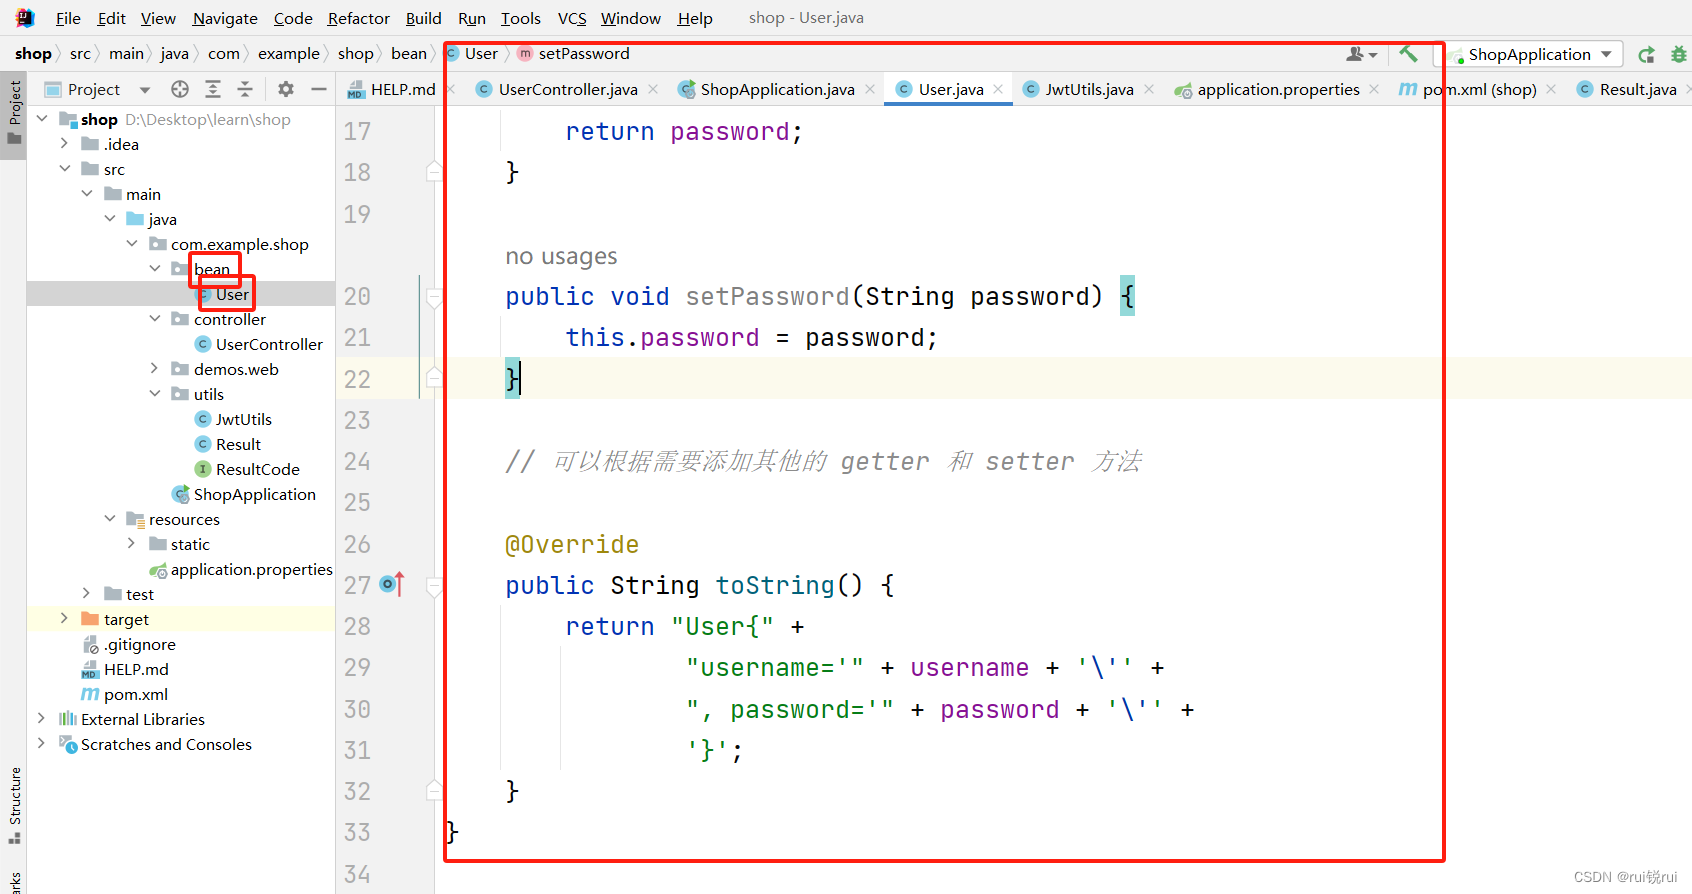
package com.example.shop.bean;public class User {private String username;private String password;// 可以根据需要添加其他字段,比如角色、邮箱等public String getUsername() {return username;}public void setUsername(String username) {this.username = username;}public String getPassword() {return password;}public void setPassword(String password) {this.password = password;}// 可以根据需要添加其他的 getter 和 setter 方法@Overridepublic String toString() {return "User{" +"username='" + username + '\'' +", password='" + password + '\'' +'}';}
}
新建utils包,再其包下新建JwtUtils,Result和ResultCode
ResultCode代码如下
package com.example.shop.utils;public interface ResultCode {public static Integer SUCCESS= 20000;//成功public static Integer ERROR=20001;//失败
}
Result代码如下
package com.example.shop.utils;import java.util.HashMap;
import java.util.Map;public class Result {private Boolean success;private Integer code;private String message;private Map<String, Object> data = new HashMap<>();// 私有构造方法private Result() {}// 成功静态方法public static Result ok() {Result r = new Result();r.setSuccess(true);r.setCode(ResultCode.SUCCESS);r.setMessage("成功");return r;}// 失败静态方法public static Result error() {Result r = new Result();r.setSuccess(false);r.setCode(ResultCode.ERROR);r.setMessage("失败");return r;}public Boolean getSuccess() {return success;}public void setSuccess(Boolean success) {this.success = success;}public Integer getCode() {return code;}public void setCode(Integer code) {this.code = code;}public String getMessage() {return message;}public void setMessage(String message) {this.message = message;}public Map<String, Object> getData() {return data;}public void setData(Map<String, Object> data) {this.data = data;}public Result success(Boolean success) {this.setSuccess(success);return this;}public Result message(String message) {this.setMessage(message);return this;}public Result code(Integer code) {this.setCode(code);return this;}public Result data(String key, Object value) {this.data.put(key, value);return this;}public Result data(Map<String, Object> map) {this.setData(map);return this;}
}
JwtUtils代码如下
package com.example.shop.utils;import io.jsonwebtoken.Claims;
import io.jsonwebtoken.Jwts;
import io.jsonwebtoken.SignatureAlgorithm;import java.util.Date;public class JwtUtils {// 7天过期,单位秒private static final long expire = 604800;// 32位秘钥private static final String secret = "abcdfghiabcdfghiabcdfghiabcdfghi";// 生成tokenpublic static String generateToken(String username) {Date now = new Date();Date expiration = new Date(now.getTime() + 1000 * expire);return Jwts.builder().setHeaderParam("typ", "JWT") // 设置头部信息.setSubject(username) // 设置主题.setIssuedAt(now) // 设置签发时间.setExpiration(expiration) // 设置过期时间.signWith(SignatureAlgorithm.HS512, secret) // 设置签名使用的算法和秘钥.compact(); // 生成token}// 解析token,获取Claimspublic static Claims getClaimsByToken(String token){return Jwts.parser().setSigningKey(secret) // 设置秘钥.parseClaimsJws(token) // 解析token.getBody(); // 获取token中的payload部分}
}
新建controller包,,在其下新建UserController
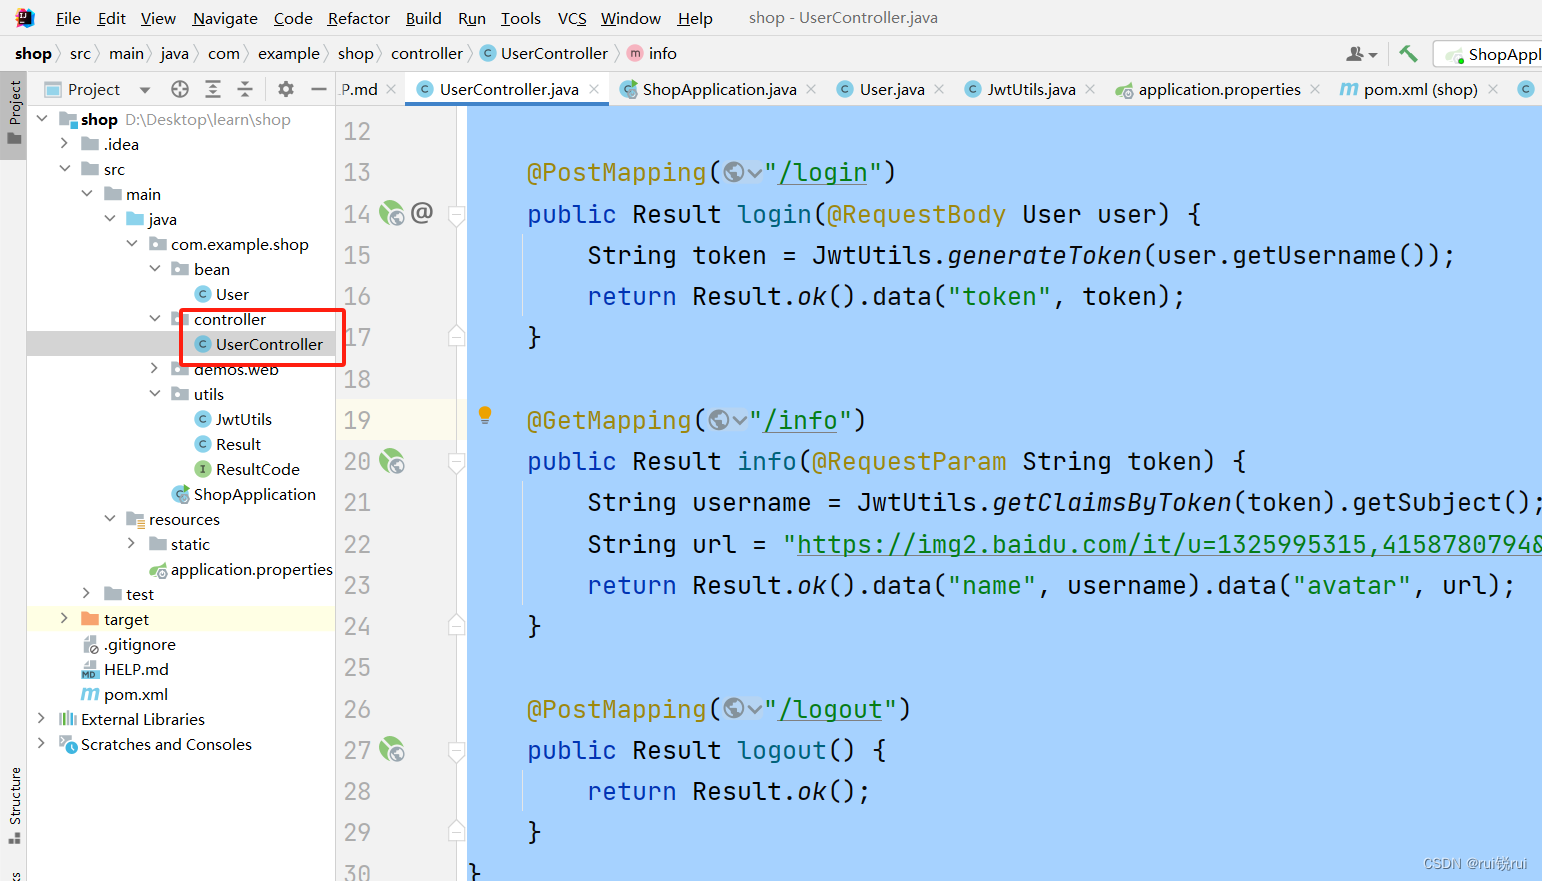
UserController代码如下
package com.example.shop.controller;import org.springframework.web.bind.annotation.*;
import com.example.shop.utils.Result;
import com.example.shop.utils.JwtUtils;
import com.example.shop.bean.User;@RestController
@RequestMapping("/user")
@CrossOrigin
public class UserController {@PostMapping("/login")public Result login(@RequestBody User user) {String token = JwtUtils.generateToken(user.getUsername());return Result.ok().data("token", token);}@GetMapping("/info")public Result info(@RequestParam String token) {String username = JwtUtils.getClaimsByToken(token).getSubject();String url = "https://img2.baidu.com/it/u=1325995315,4158780794&fm=26&fmt=auto&gp=0.ipg";return Result.ok().data("name", username).data("avatar", url);}@PostMapping("/logout")public Result logout() {return Result.ok();}
}
添加依赖
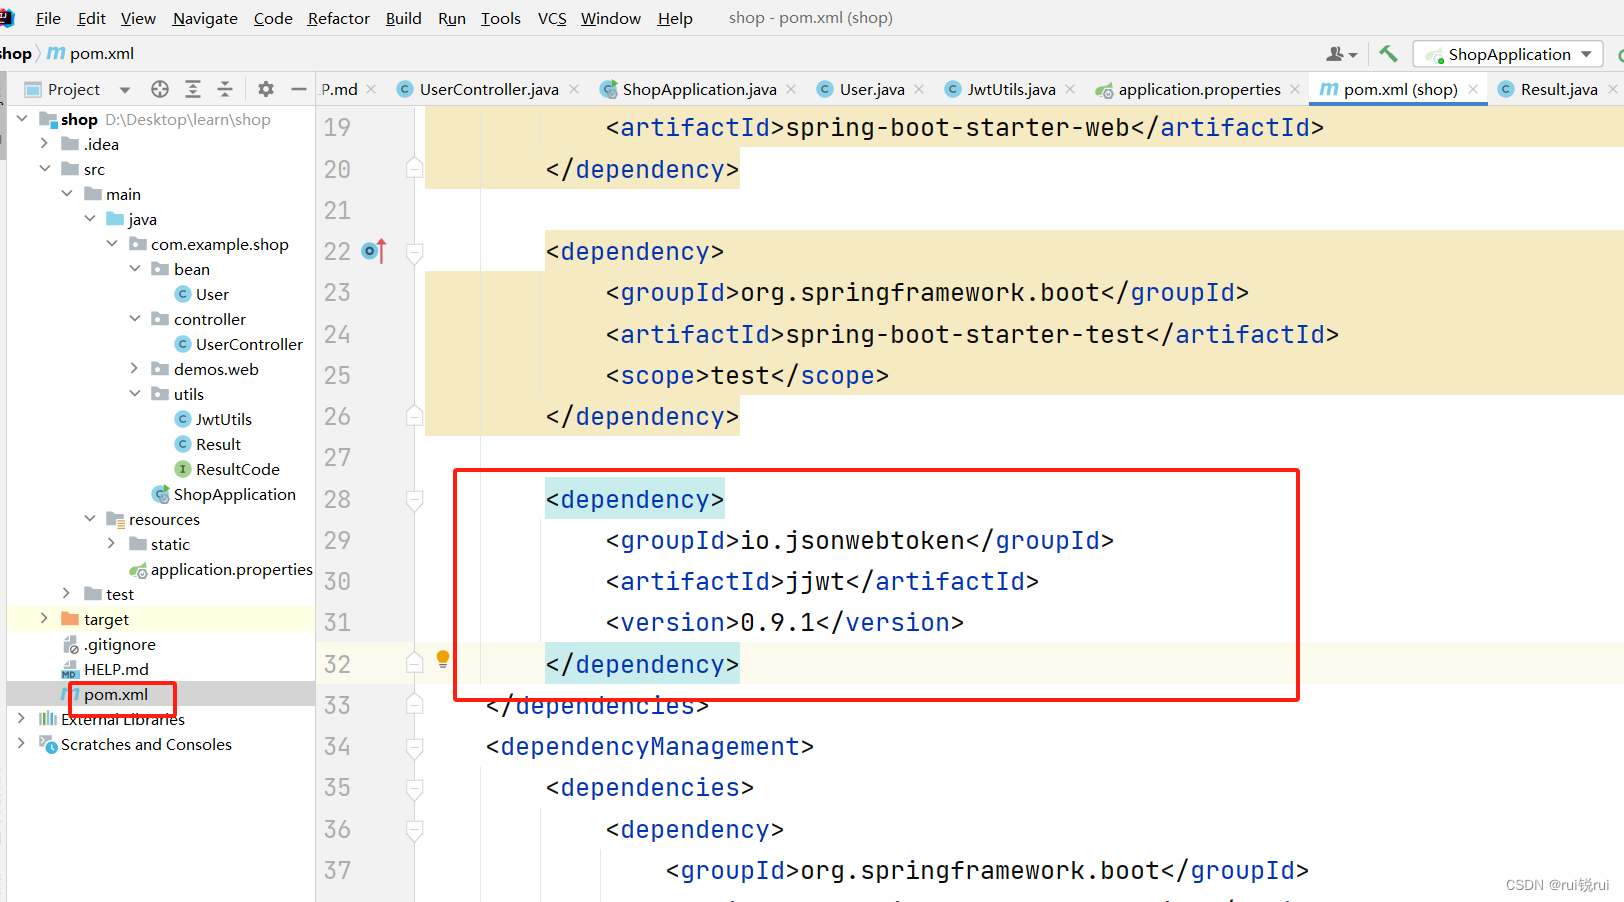
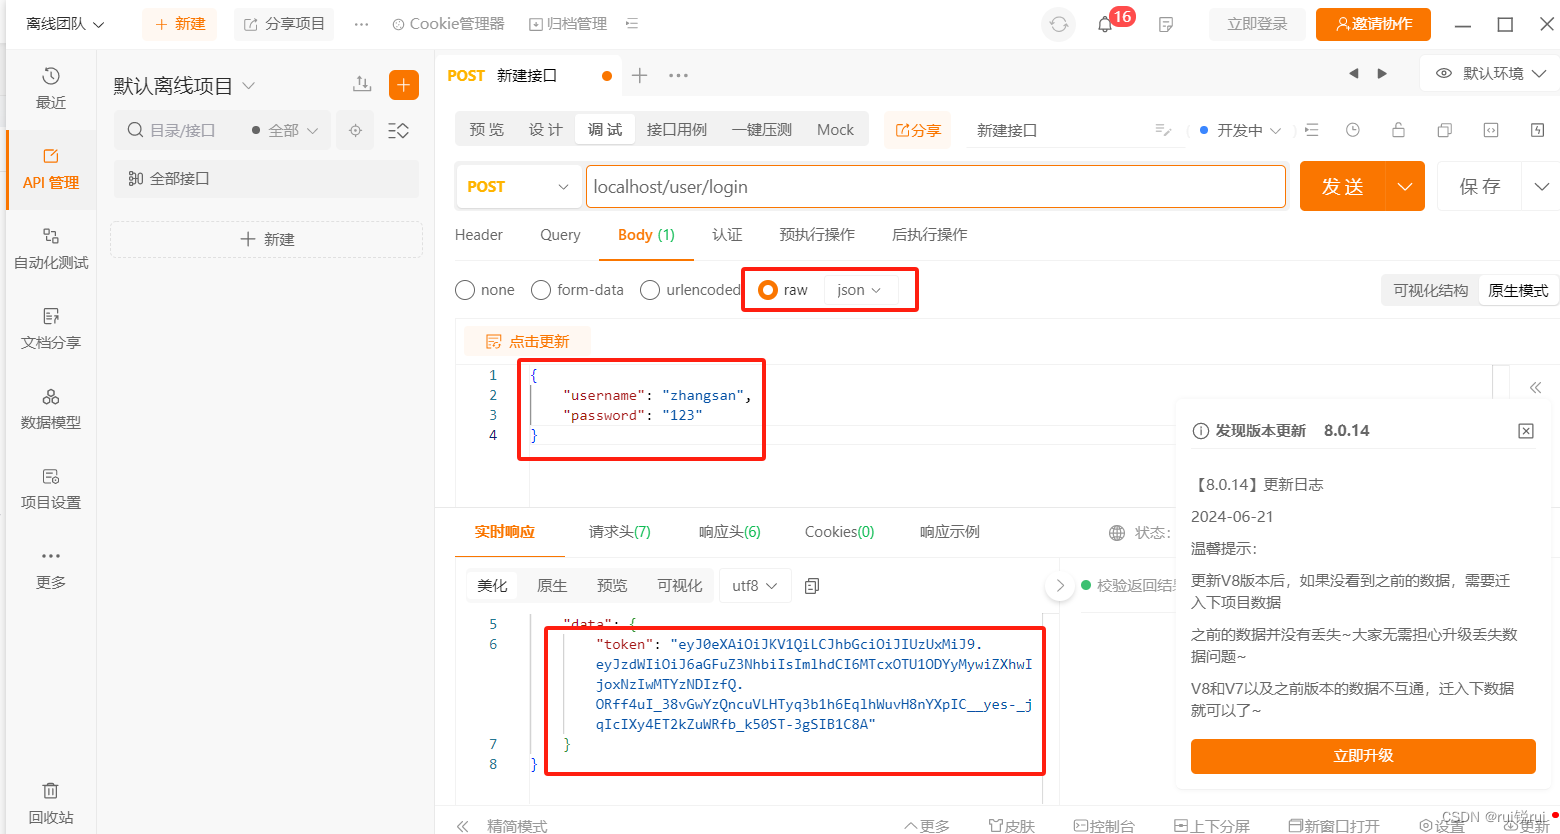
<dependency><groupId>io.jsonwebtoken</groupId><artifactId>jjwt</artifactId><version>0.9.1</version></dependency>运行localhost/user/login
输入和结果如下
)


