文章目录
- 代码
- 效果
- 参考文章
代码
<!DOCTYPE html>
<html lang="zh-CN"><head><meta charset="UTF-8"><!-- 确保IE浏览器使用最新的渲染引擎 --><meta http-equiv="X-UA-Compatible" content="IE=edge"><!-- 设置viewport以确保页面在移动设备上正确显示 --><meta name="viewport" content="width=device-width, initial-scale=1.0"><title>图片上传示例</title><style>/* CSS样式部分开始 */body {font-family: Arial, sans-serif; /* 设置字体 */display: flex; /* 使用弹性盒子布局 */flex-direction: column; /* 元素垂直排列 */align-items: center; /* 元素在水平方向居中 */padding: 20px; /* 内边距 */}/* 文件上传按钮的样式 */.upload {margin-bottom: 20px; /* 底部外边距,与下方元素保持距离 */}/* 图片容器的样式 */.img-container {margin-top: 20px; /* 顶部外边距 */width: 300px; /* 宽度 */height: 300px; /* 高度 */border: 1px dashed #ccc; /* 虚线边框 */display: flex; /* 弹性盒子布局 */justify-content: center; /* 内容水平居中 */align-items: center; /* 内容垂直居中 */}/* 上传后显示的图片样式 */.my-img {max-width: 100%; /* 最大宽度不超过容器 */max-height: 100%; /* 最大高度不超过容器 */}/* CSS样式部分结束 */</style>
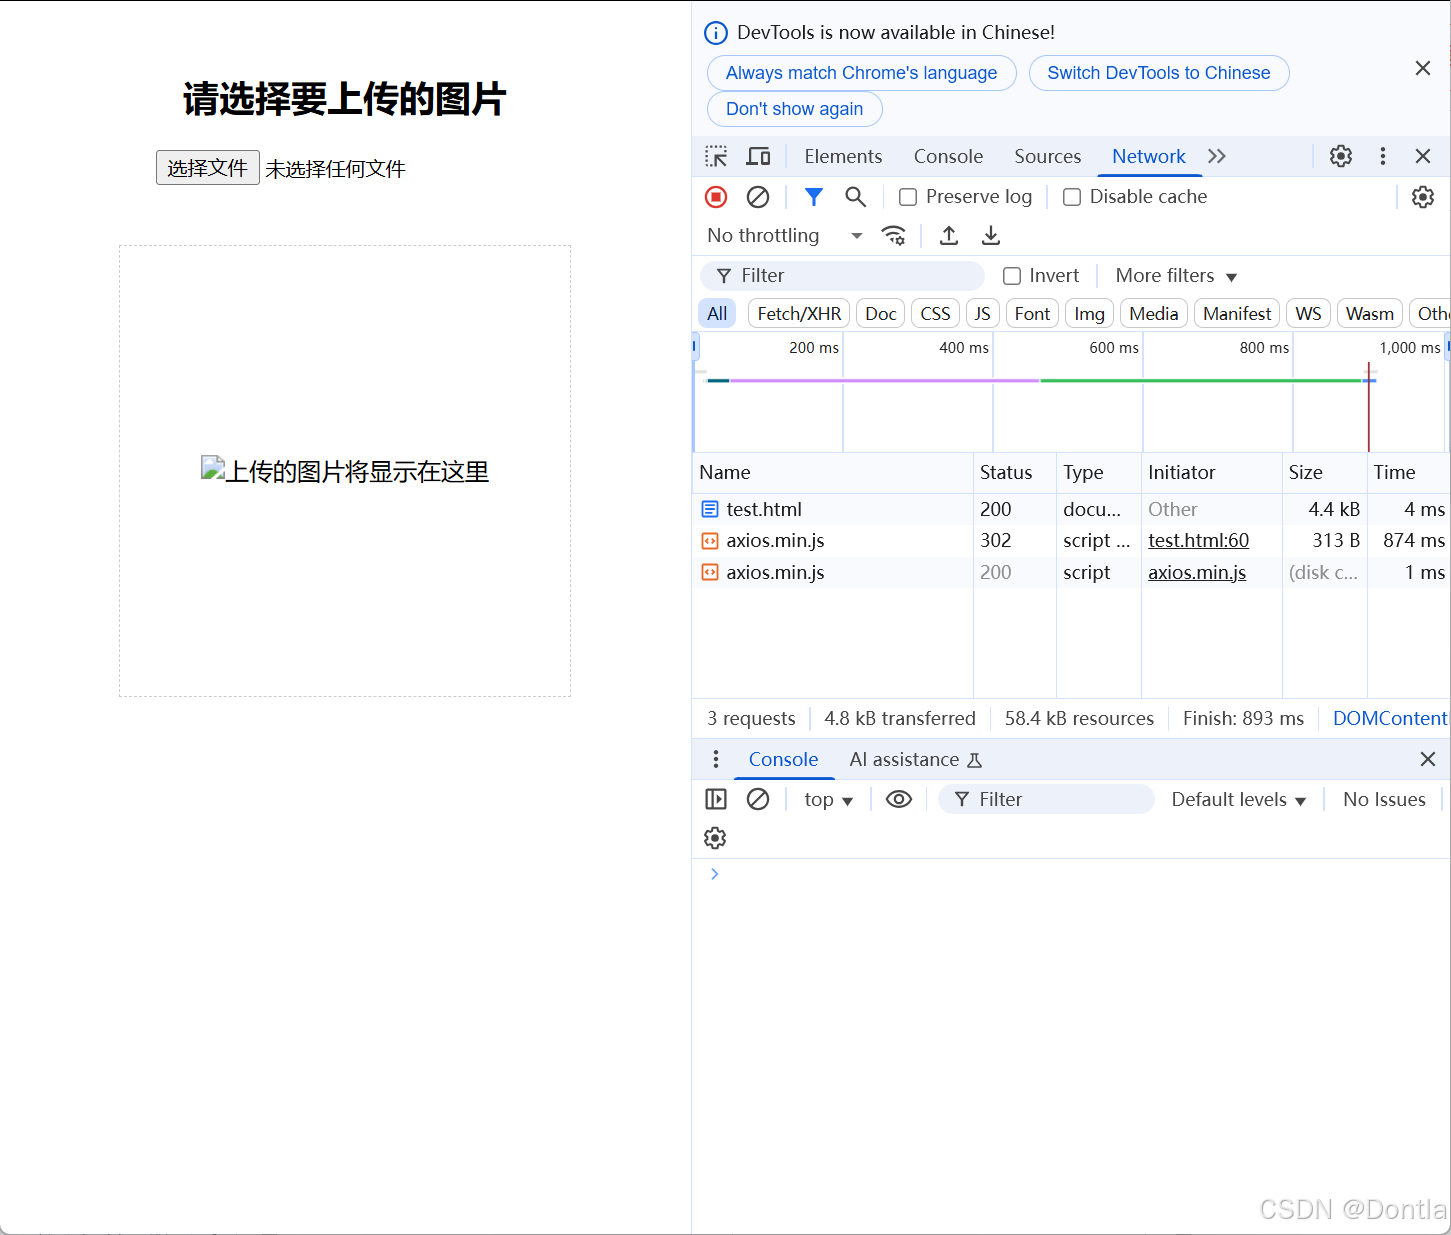
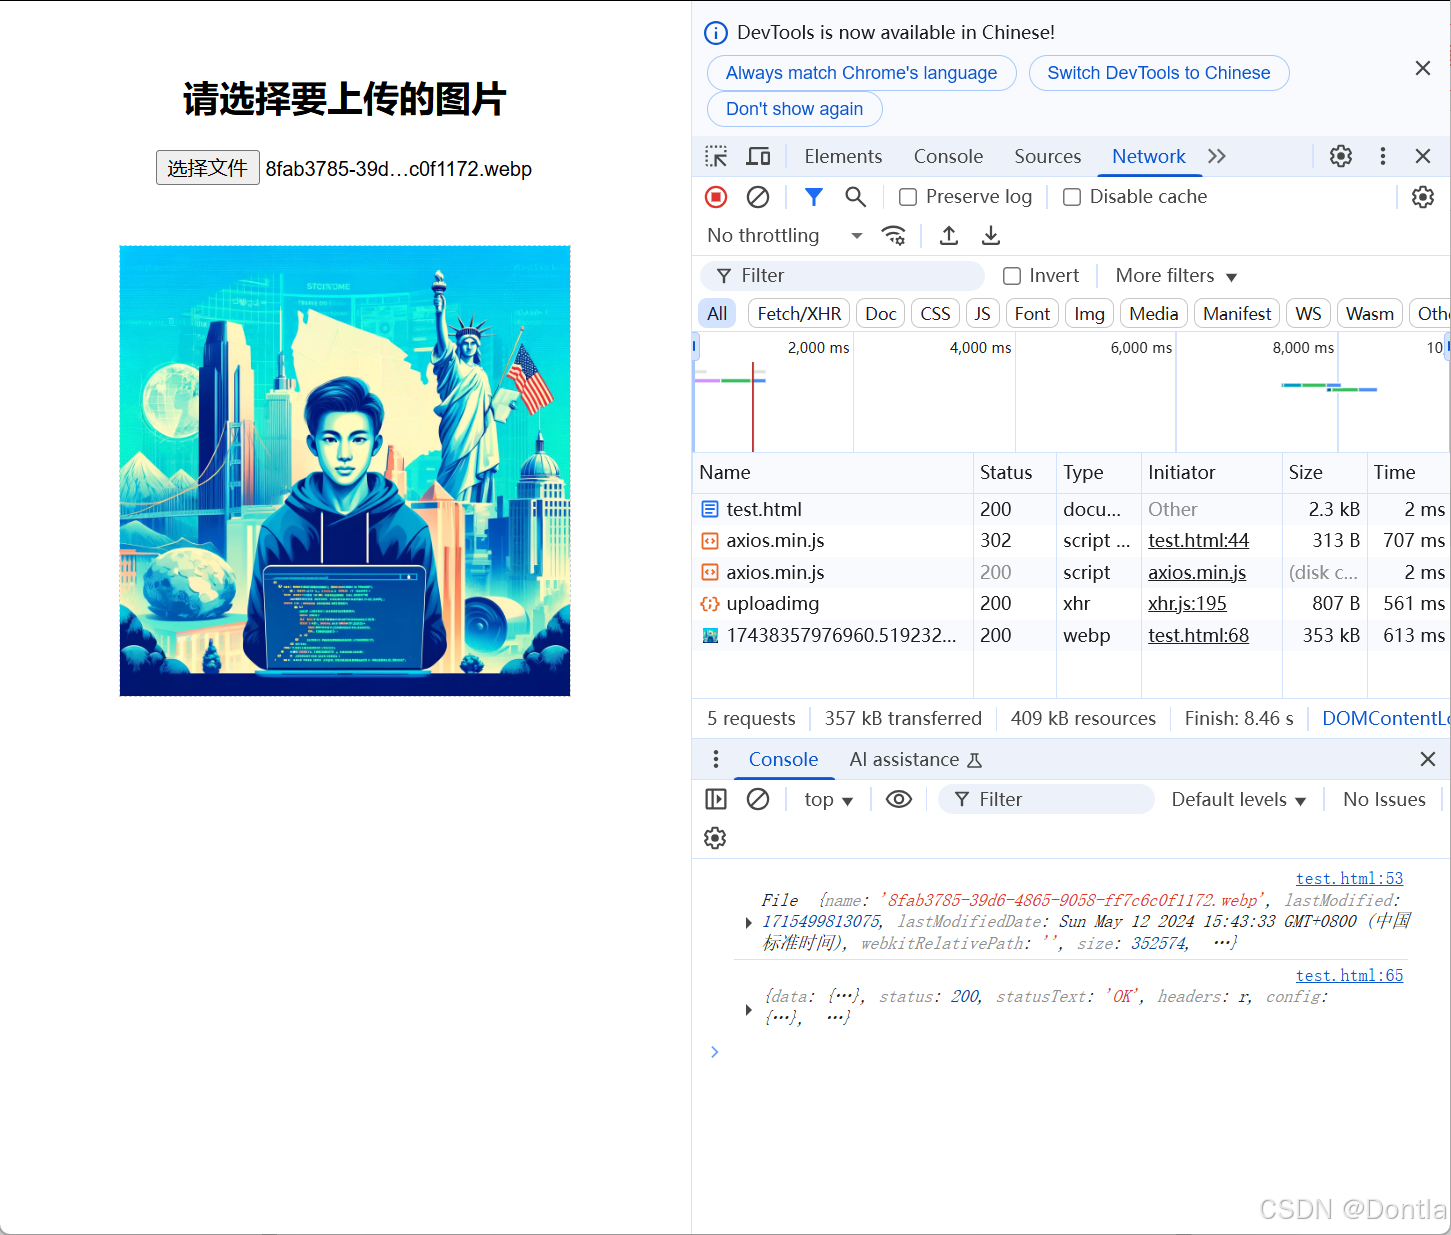
</head><body><!-- 页面标题 --><h2>请选择要上传的图片</h2><!-- 文件选择元素 - accept属性限制只能选择图片类型文件 --><input type="file" class="upload" accept="image/*"><!-- 图片显示容器 --><div class="img-container"><!-- 预留的图片标签,src为空,等待上传后的图片地址填充 --><img src="" alt="上传的图片将显示在这里" class="my-img"></div><!-- 引入axios库,用于发送HTTP请求 --><!-- 更换为国内可访问的CDN --><script src="https://unpkg.com/axios/dist/axios.min.js"></script><script>// JavaScript代码部分开始// 图片上传功能的实现步骤:// 1. 获取图片文件// 2. 使用 FormData 携带图片文件// 3. 提交到服务器,获取图片url网址并显示// 获取上传按钮元素并添加change事件监听器// change事件会在用户选择文件后触发document.querySelector('.upload').addEventListener('change', e => {// e是事件对象,e.target指向触发事件的元素(这里是input)// e.target.files是一个FileList对象,包含用户选择的所有文件// e.target.files[0]是用户选择的第一个文件console.log(e.target.files[0]) // 在控制台打印文件信息// 创建FormData对象,用于将数据以表单形式提交// FormData可以包含文件、文本等多种数据类型const fd = new FormData()// 向FormData添加数据// 第一个参数'img'是表单字段名(由服务器端决定)// 第二个参数是要上传的文件对象fd.append('img', e.target.files[0])// 使用axios发送POST请求上传图片axios({url: 'http://hmajax.itheima.net/api/uploadimg', // 上传图片的服务器地址method: 'POST', // HTTP请求方法data: fd // 发送的数据(FormData对象)}).then(result => {// 请求成功后执行的回调函数// result包含服务器返回的响应数据console.log(result) // 打印完整响应// 从响应中提取图片URL// 根据服务器返回的数据结构来获取const imgUrl = result.data.data.url// 将图片URL设置到img标签的src属性// 这样图片就会显示在页面上document.querySelector('.my-img').src = imgUrl})})// JavaScript代码部分结束</script>
</body></html>
效果
参考文章
https://www.bilibili.com/video/BV1MN411y7pw/?p=26


)


