目录
1.起步
1.1 uni-app 简介
1.2 开发工具
1.2.1 下载 HBuilderX
1.2.2 安装 HBuilderX
1.2.3 安装 scss/sass 编译
1.2.4 快捷键方案切换
1.2.5 修改编辑器的基本设置
1.3 新建 uni-app 项目
1.4 目录结构
1.5 把项目运行到微信开发者工具
1.6 使用 Git 管理项目
1.6.1 本地管理
1.6.2 把项目托管到码云
1.起步
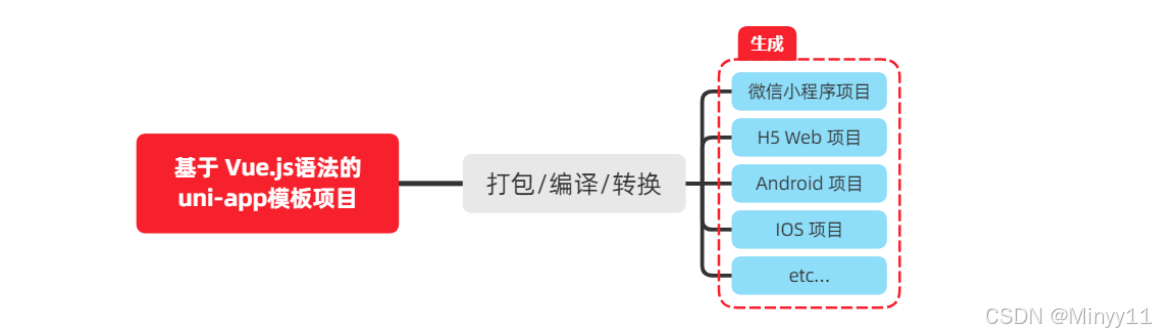
1.1 uni-app 简介
uni-app 是一个使用 Vue.js 开发所有前端应用的框架 。开发者编写一套代码,可发布到 iOS 、 Android 、 H5、以及各种小程序(微信 / 支付宝 / 百度 / 头条 /QQ/ 钉钉 / 淘宝)、快应用等多个平台.
详细的 uni-app 官方文档,请翻阅 https://uniapp.dcloud.net.cn/
1.2 开发工具
uni-app 官方推荐使用 HBuilderX 来开发 uni-app 类型的项目。主要好处:
- 模板丰富
- 完善的智能提示
- 一键运行
当然,你依然可以根据自己的喜好,选择使用 VS Code 、 Sublime 、记事本 ... 等自己喜欢的编辑器!
1.2.1 下载 HBuilderX
1. 访问 HBuilderX 的官网首页 https://www.dcloud.io/hbuilderx.html
2. 点击首页的 DOWNLOAD 按钮
3. 选择下载 正式版 -> App 开发版
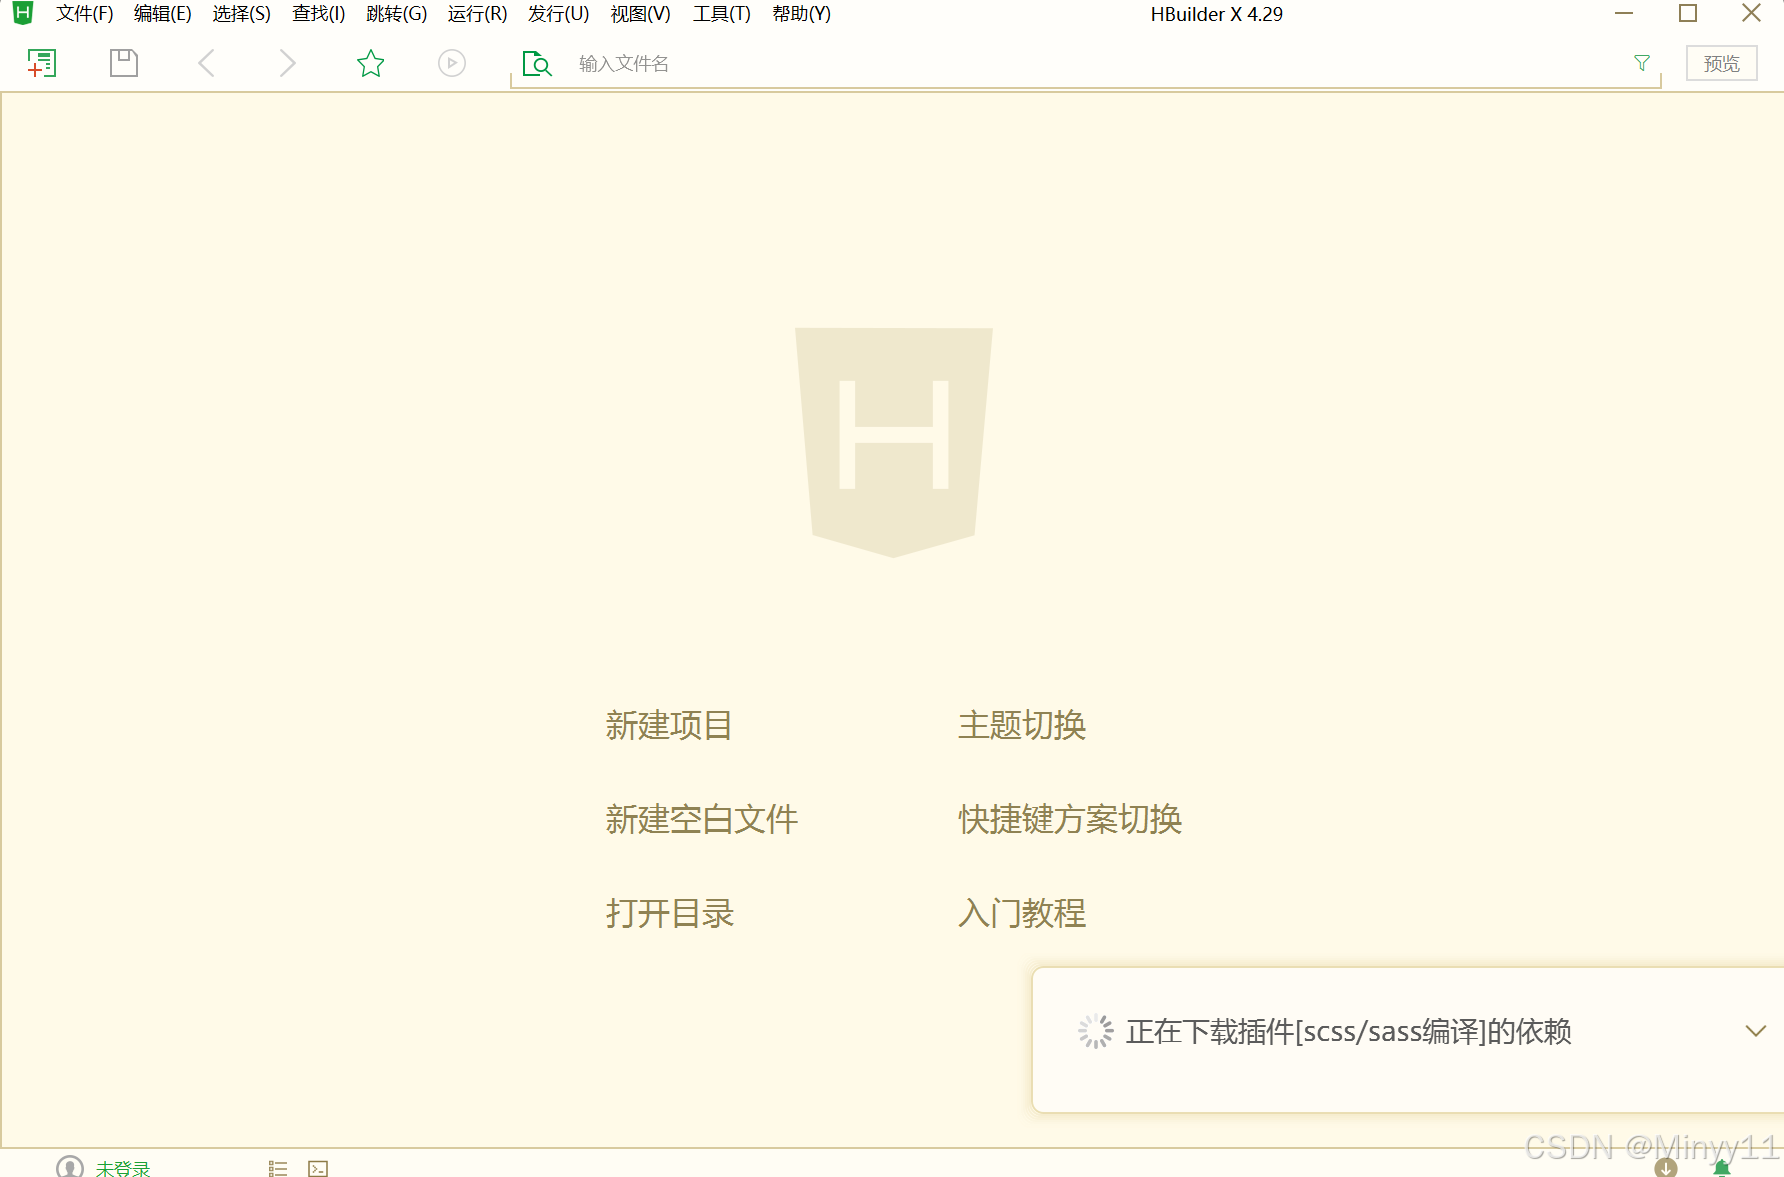
1.2.2 安装 HBuilderX
1. 将下载的 zip 包 进行解压缩
2. 将解压之后的文件夹,存放到 纯英文 的目录中(且不能包含括号等特殊字符)
3. 双击 HBuilderX.exe 即可启动 HBuilderX
1.2.3 安装 scss/sass 编译
为了方便编写样式(例如: <style lang="scss"></style> ), 建议安装 scss/sass 编译 插
件。插件下载地址:
https://ext.dcloud.net.cn/plugin?name=compile-node-sass
进入插件下载页面之后,点击右上角的 使用 HBuilderX 导入插件 按钮进行自动安装,截图如下:

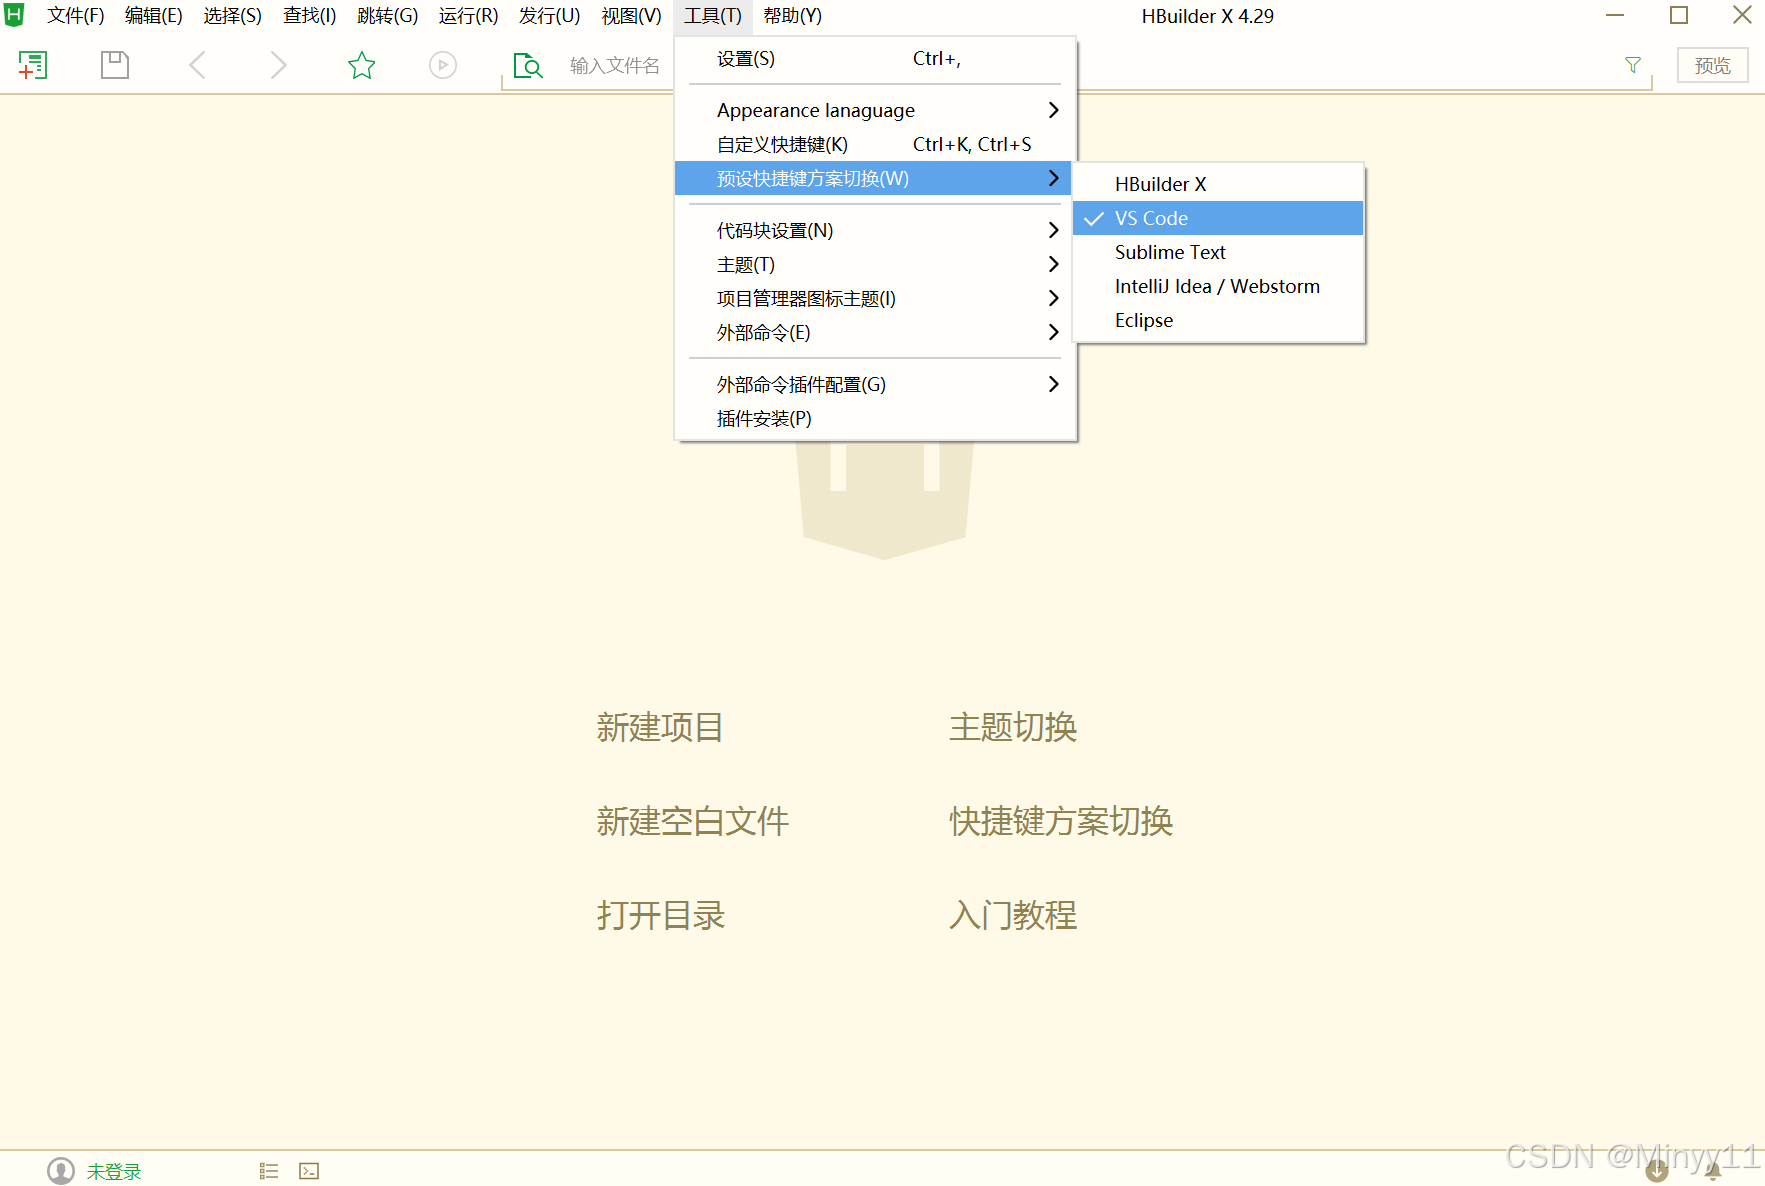
1.2.4 快捷键方案切换
操作步骤:工具 -> 预设快捷键方案切换 -> VS Code
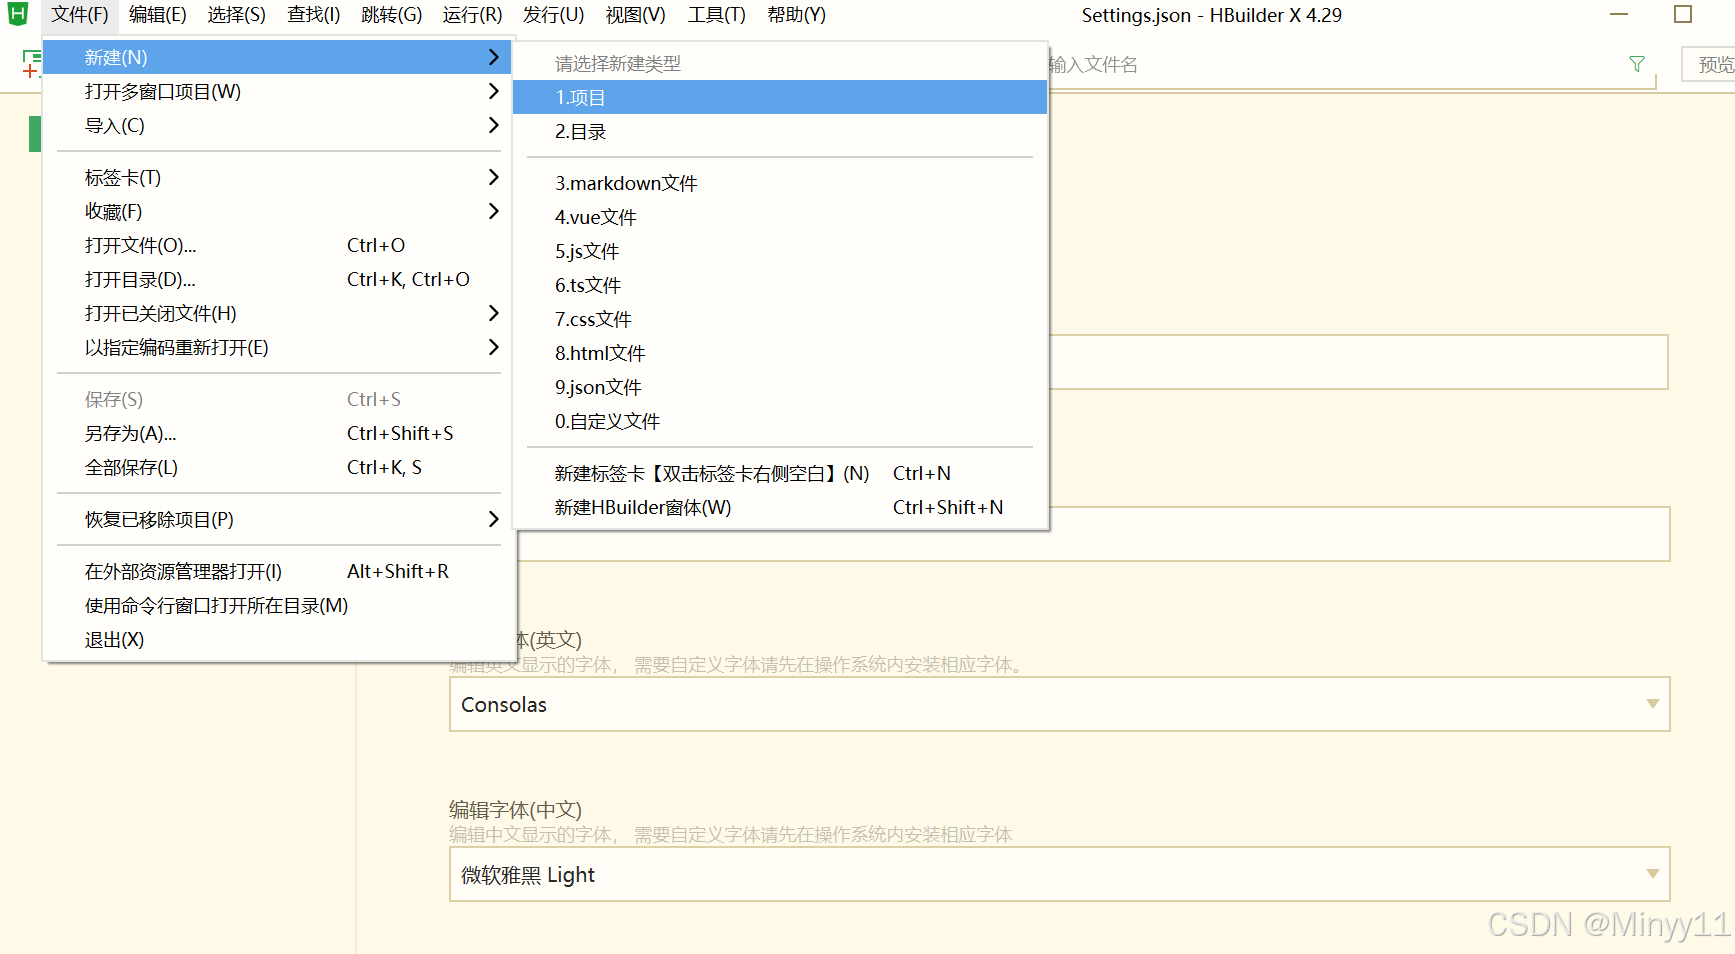
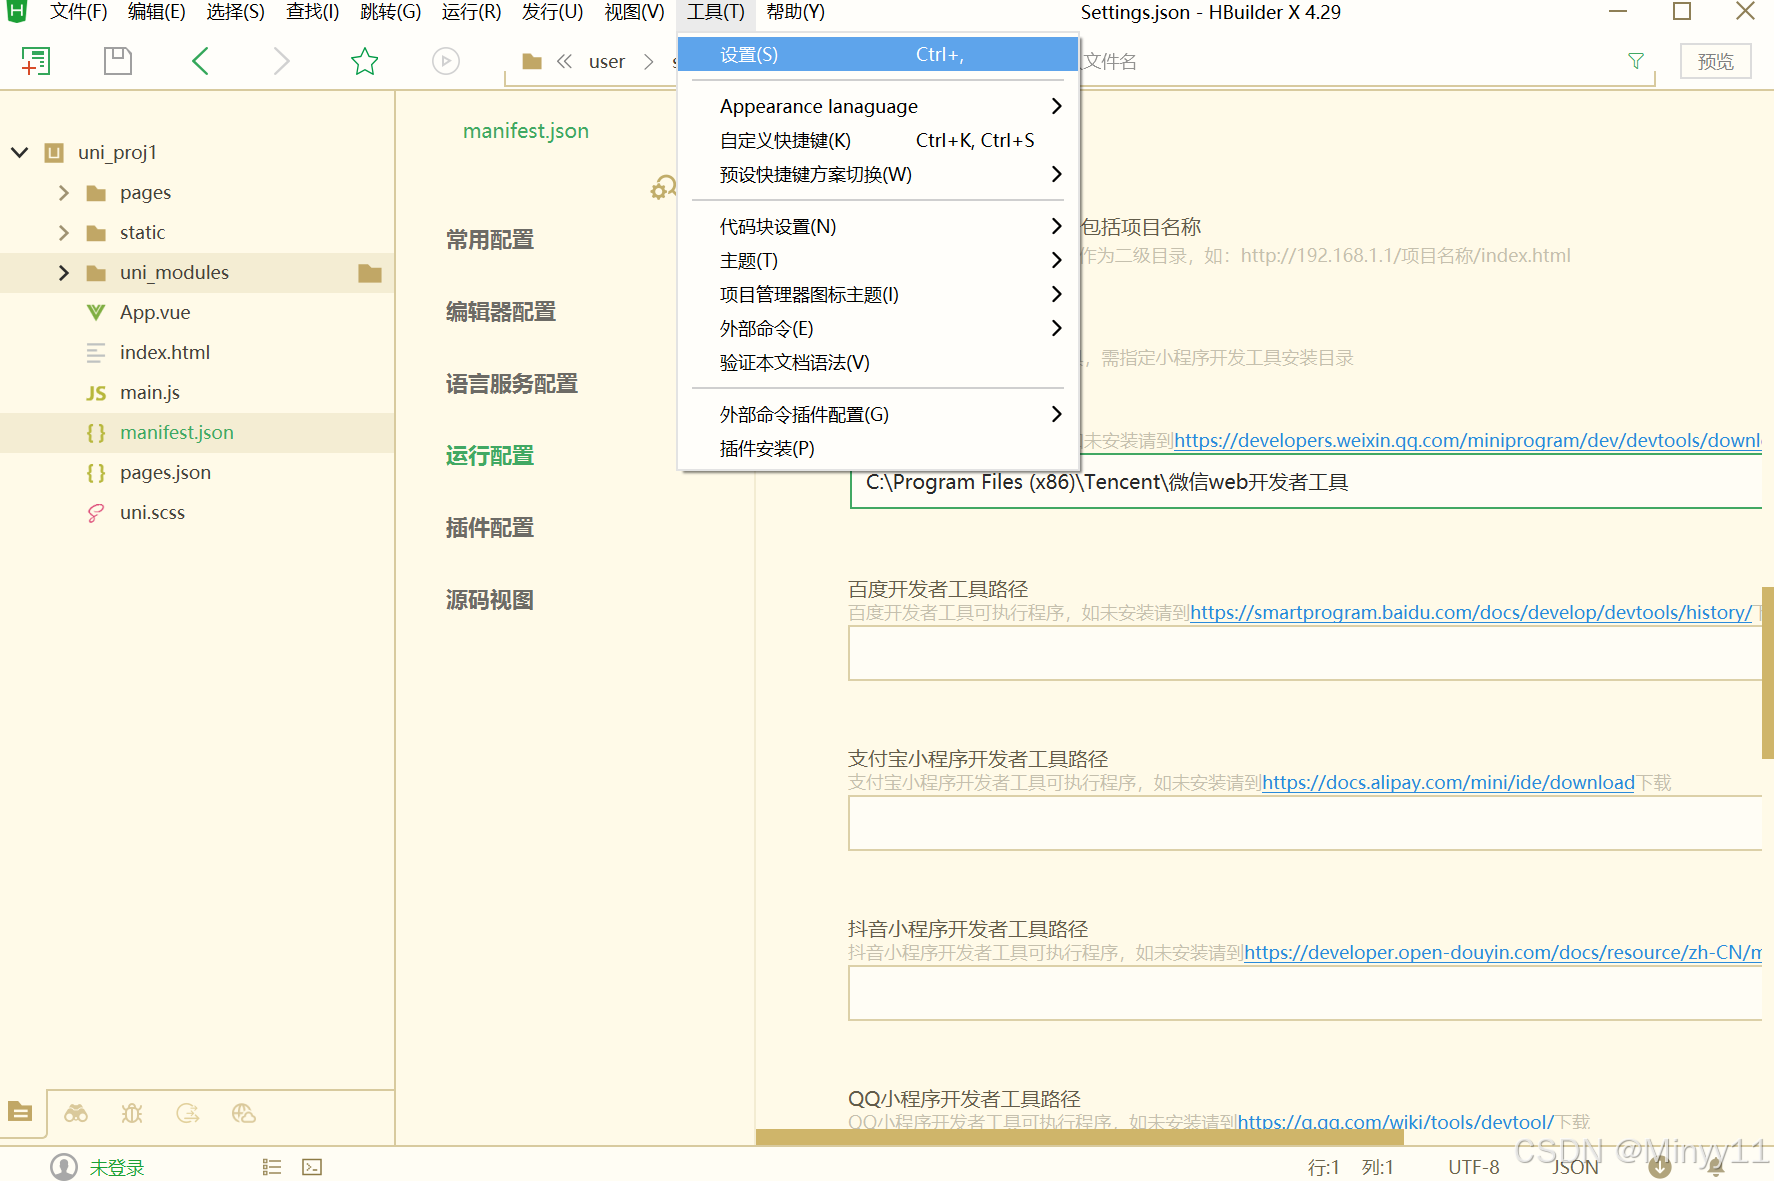
1.2.5 修改编辑器的基本设置
操作步骤:工具 -> 设置 -> 打开 Settings.json 按需进行配置

源码视图 下可用的参考配置:
{"editor.colorScheme" : "Default" ,"editor.fontSize" : 12 ,"editor.fontFamily" : "Consolas" ,"editor.fontFmyCHS" : " 微软雅黑 Light" ,"editor.insertSpaces" : true ,"editor.lineHeight" : "1.5" ,"editor.minimap.enabled" : false ,"editor.mouseWheelZoom" : true ,"editor.onlyHighlightWord" : false ,"editor.tabSize" : 2 ,"editor.wordWrap" : true ,"explorer.iconTheme" : "vs-seti" ,"editor.codeassist.px2rem.enabel" : false ,"editor.codeassist.px2upx.enabel" : false}

Tips :可以使用 Ctrl + 鼠标滚轮 缩放编辑器
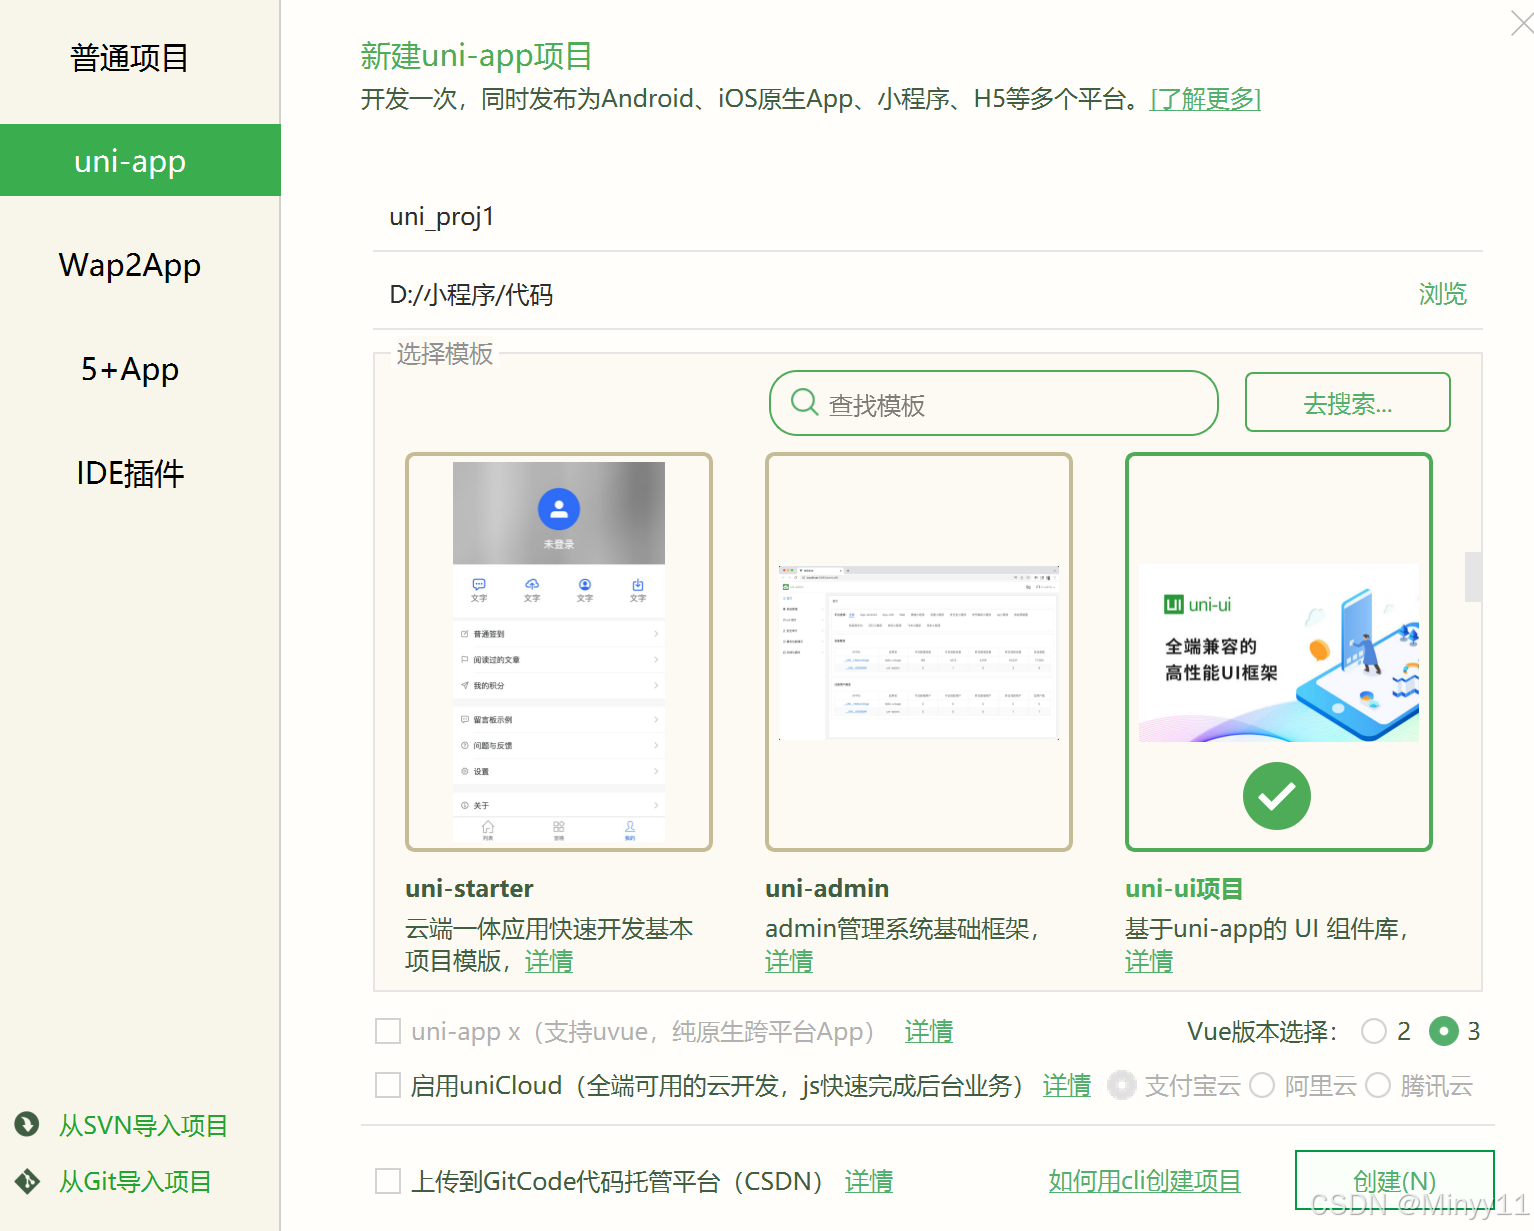
1.3 新建 uni-app 项目
1. 文件 -> 新建 -> 项目
2. 填写项目基本信息
3. 项目创建成功
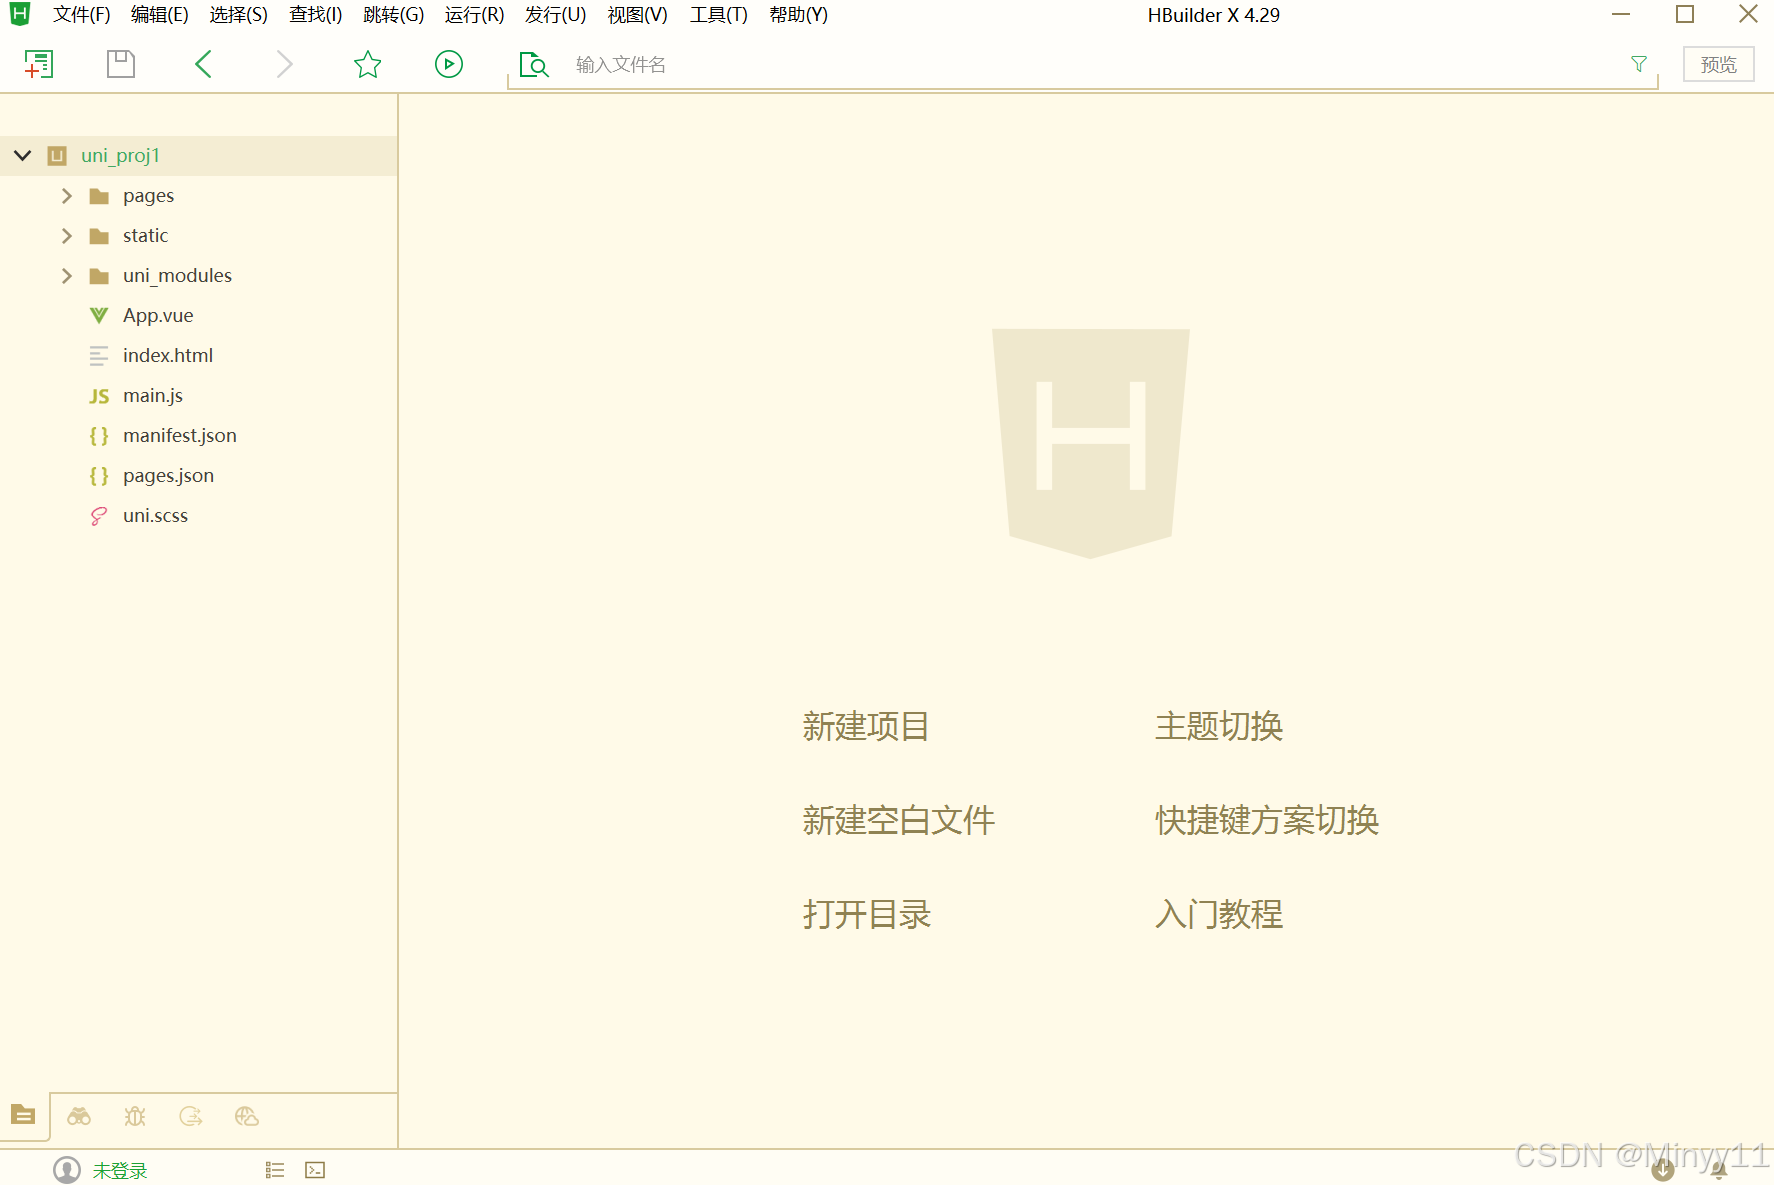
1.4 目录结构
一个 uni-app 项目,默认包含如下目录及文件:
┌─ components uni-app 组件目录│ └─ comp-a.vue 可复用的 a 组件├─ pages 业务页面文件存放的目录│ ├─ index│ │ └─ index.vue index 页面│ └─ list│ └─ list.vue list 页面├─ static 存放应用引用静态资源(如图片、视频等)的目录,注 意:静态资源只能存放于此├─ main.js Vue 初始化入口文件├─ App.vue 应用配置,用来配置小程序的全局样式、生命周期函数等├─ manifest.json 配置应用名称、 appid 、 logo 、版本等打包信息└─ pages.json 配置页面路径、页面窗口样式、 tabBar 、 navigationBar 等页面类信息
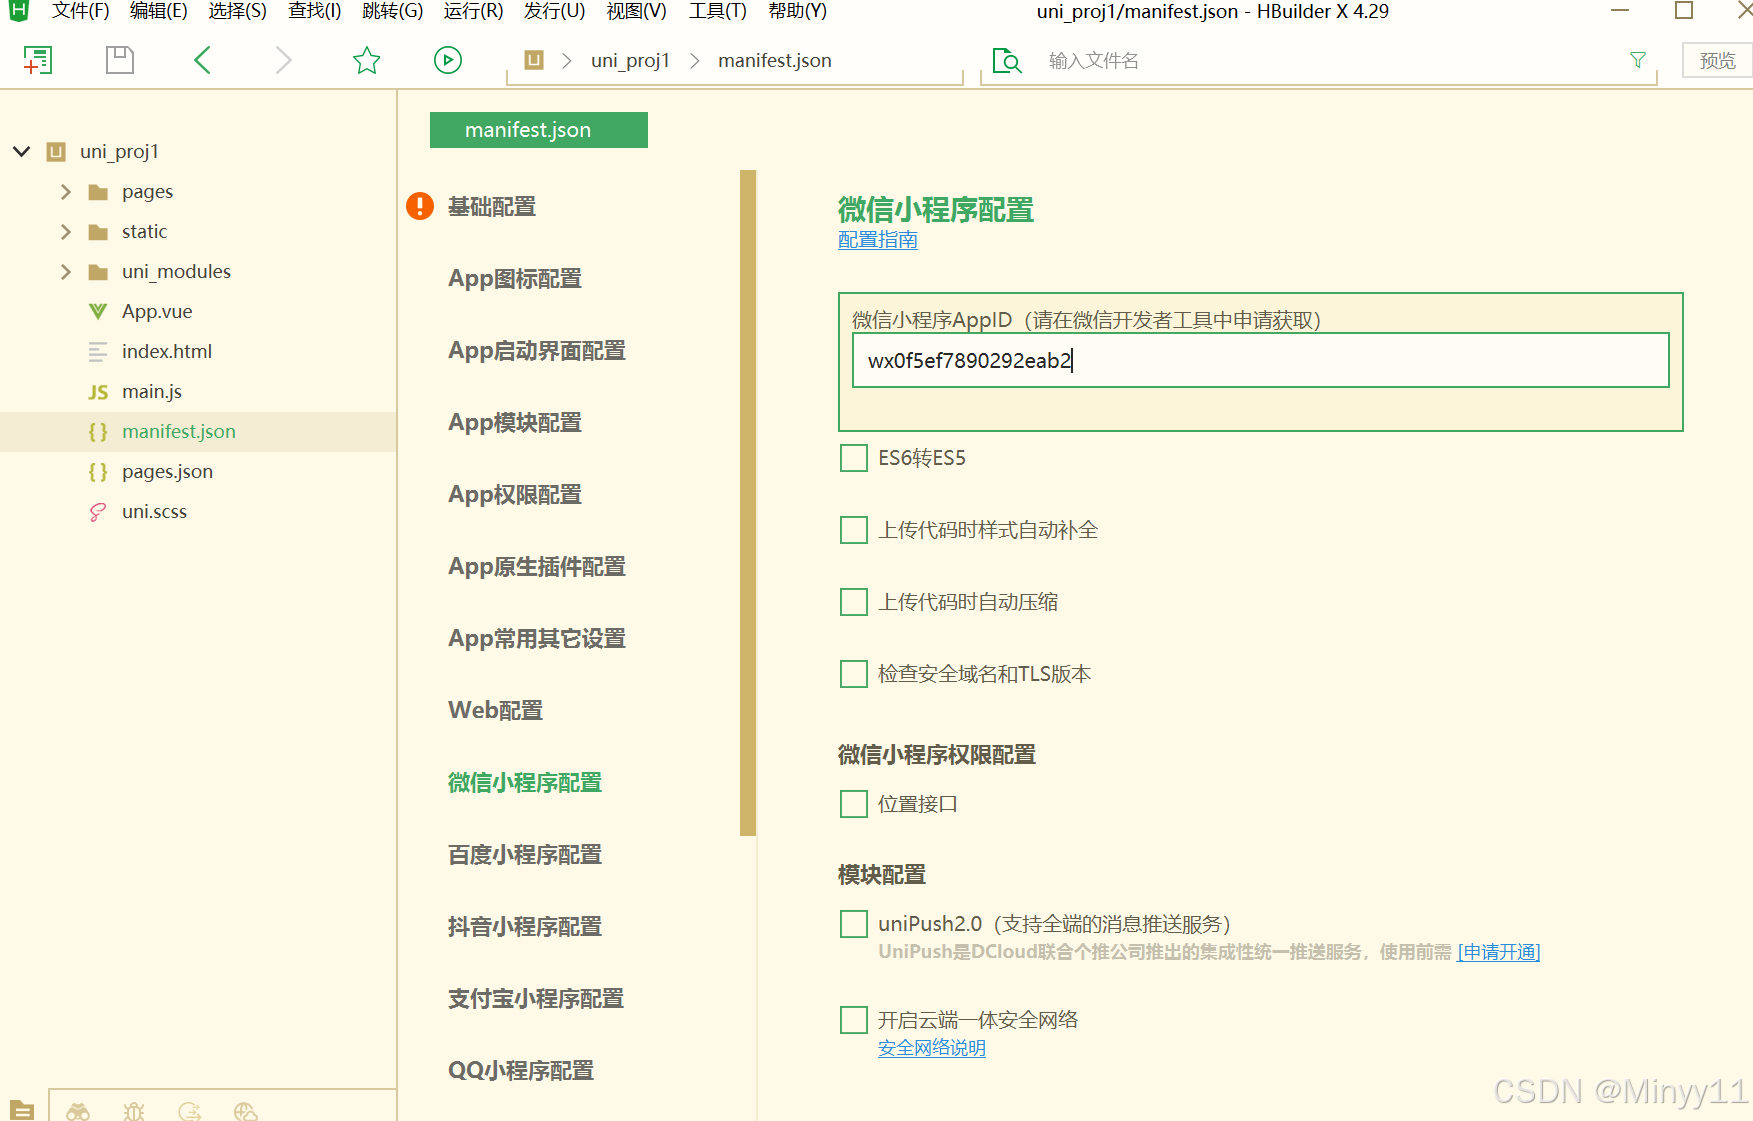
1.5 把项目运行到微信开发者工具
1. 填写自己的微信小程序的 AppID :
2. 在 HBuilderX 中,配置 “ 微信开发者工具 ” 的 安装路径 :
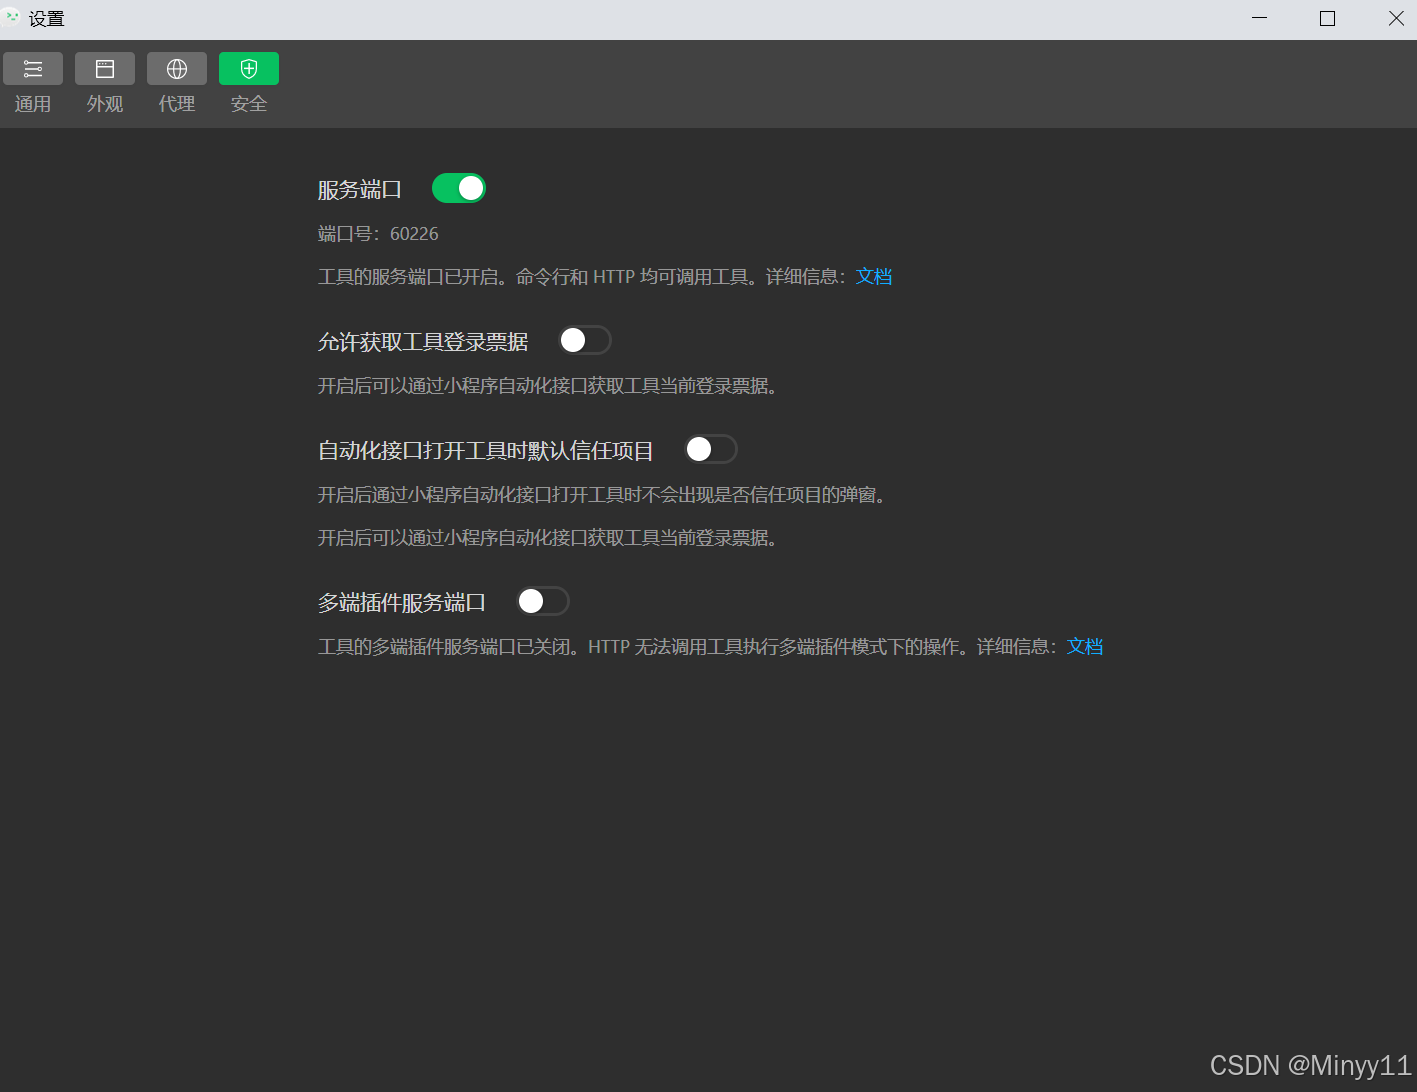
3. 在微信开发者工具中,通过 设置 - > 安全设置 面板,开启 “ 微信开发者工具 ” 的 服务端口 :
4. 在 HBuilderX 中,点击菜单栏中的 运行 - > 运行到小程序模拟器 - > 微信开发者工具 ,将当前 uni-app 项目编译之后,自动运行到微信开发者工具中,从而方便查看项目效果与调试:
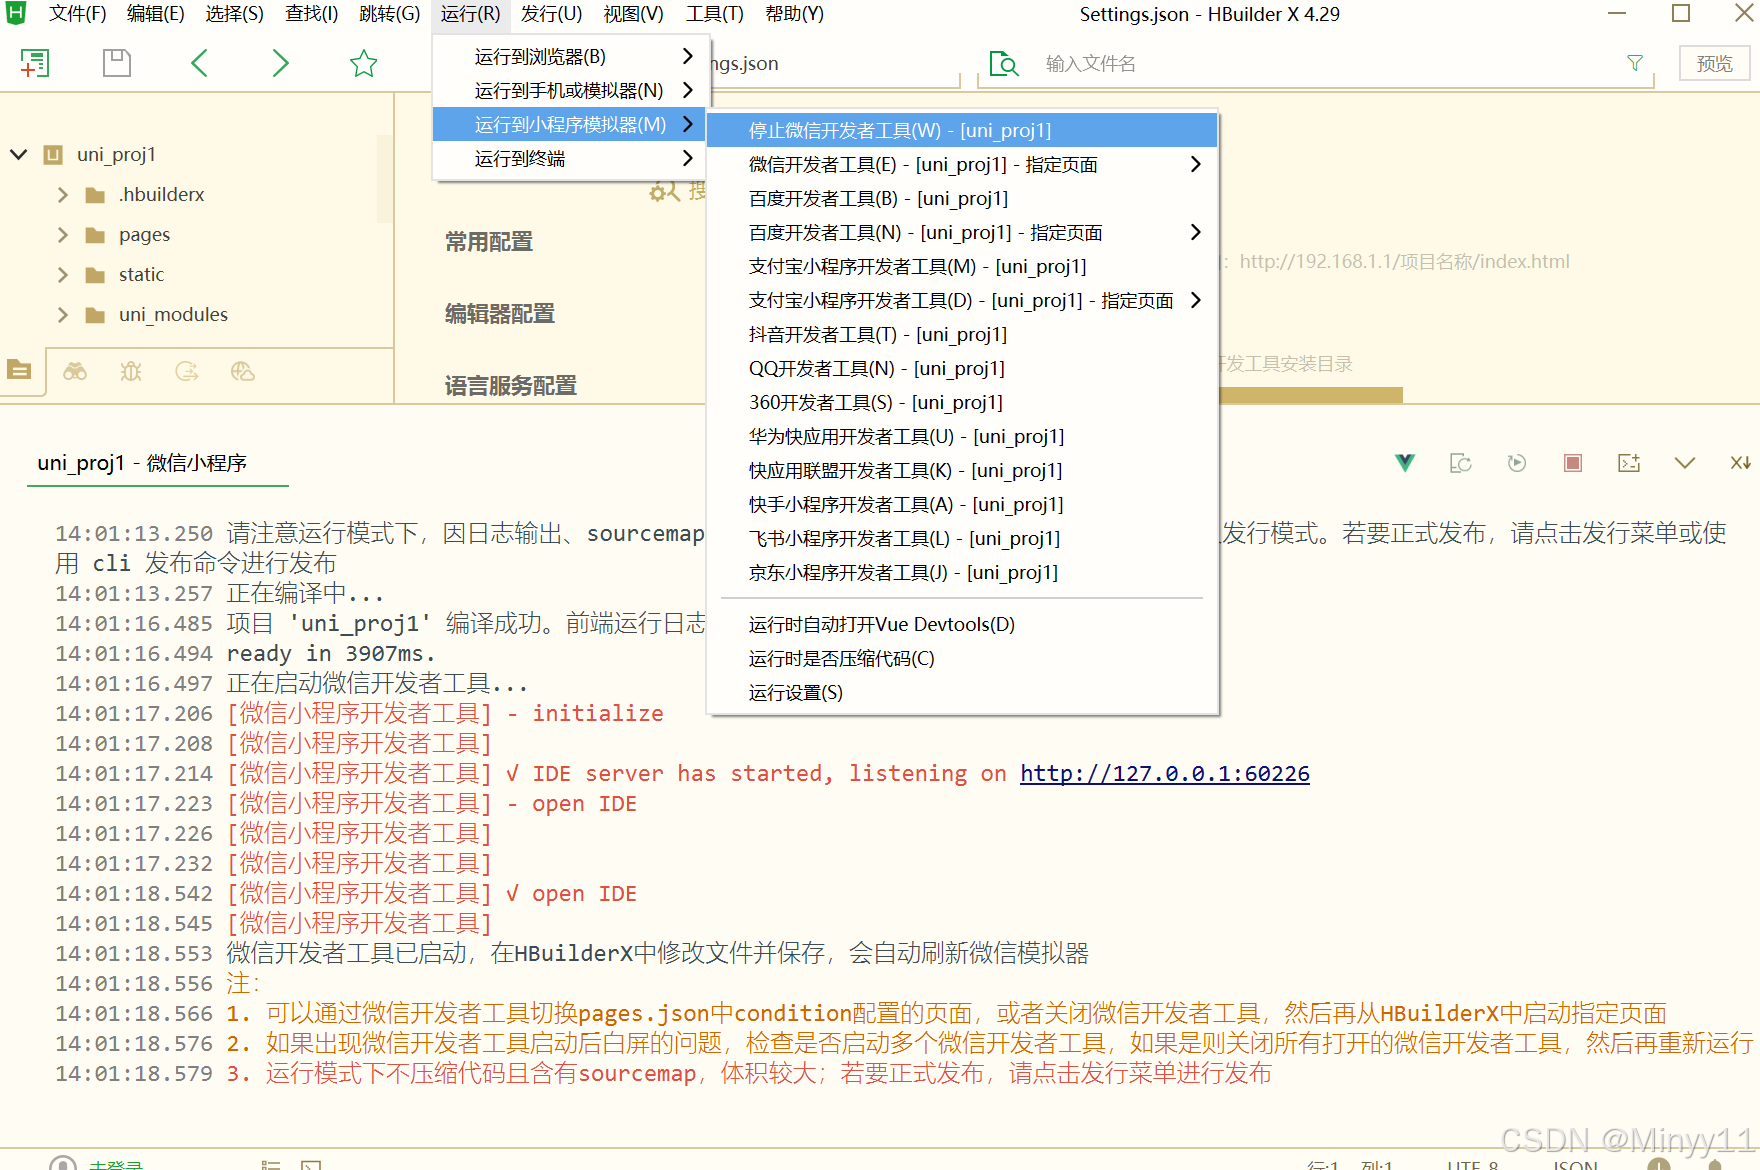
5. 初次运行成功之后的项目效果:

1.6 使用 Git 管理项目
1.6.1 本地管理
1. 在项目根目录中新建 .gitignore 忽略文件,并配置如下:
# 忽略 node_modules 目录/node_modules/unpackage/dist
注意:由于我们忽略了 unpackage 目录中 仅有的 dist 目录,因此默认情况下, unpackage 目录不
会被 Git 追踪
此时,为了让 Git 能够正常追踪 unpackage 目录,按照惯例,我们可以在 unpackage 目录下创建
一个叫做 .gitkeep 的文件进行占位
2. 打开终端,切换到项目根目录中,运行如下的命令,初始化本地 Git 仓库:
git init
3. 将所有文件都加入到暂存区:
git add .
4. 本地提交更新:
git commit -m "init project"
执行以上命令后,再输入git status,显示如下提示则表示提交成功:

1.6.2 把项目托管到码云
1. 注册并激活码云账号( 注册页面地址: https://gitee.com/signup )
2. 生成并配置 SSH 公钥
3. 创建空白的码云仓库
4. 把本地项目上传到码云对应的空白仓库中
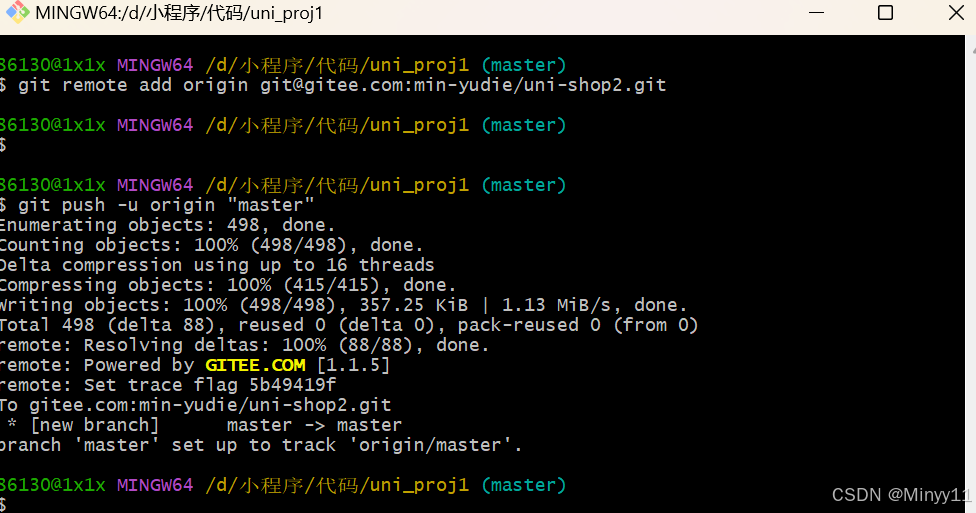
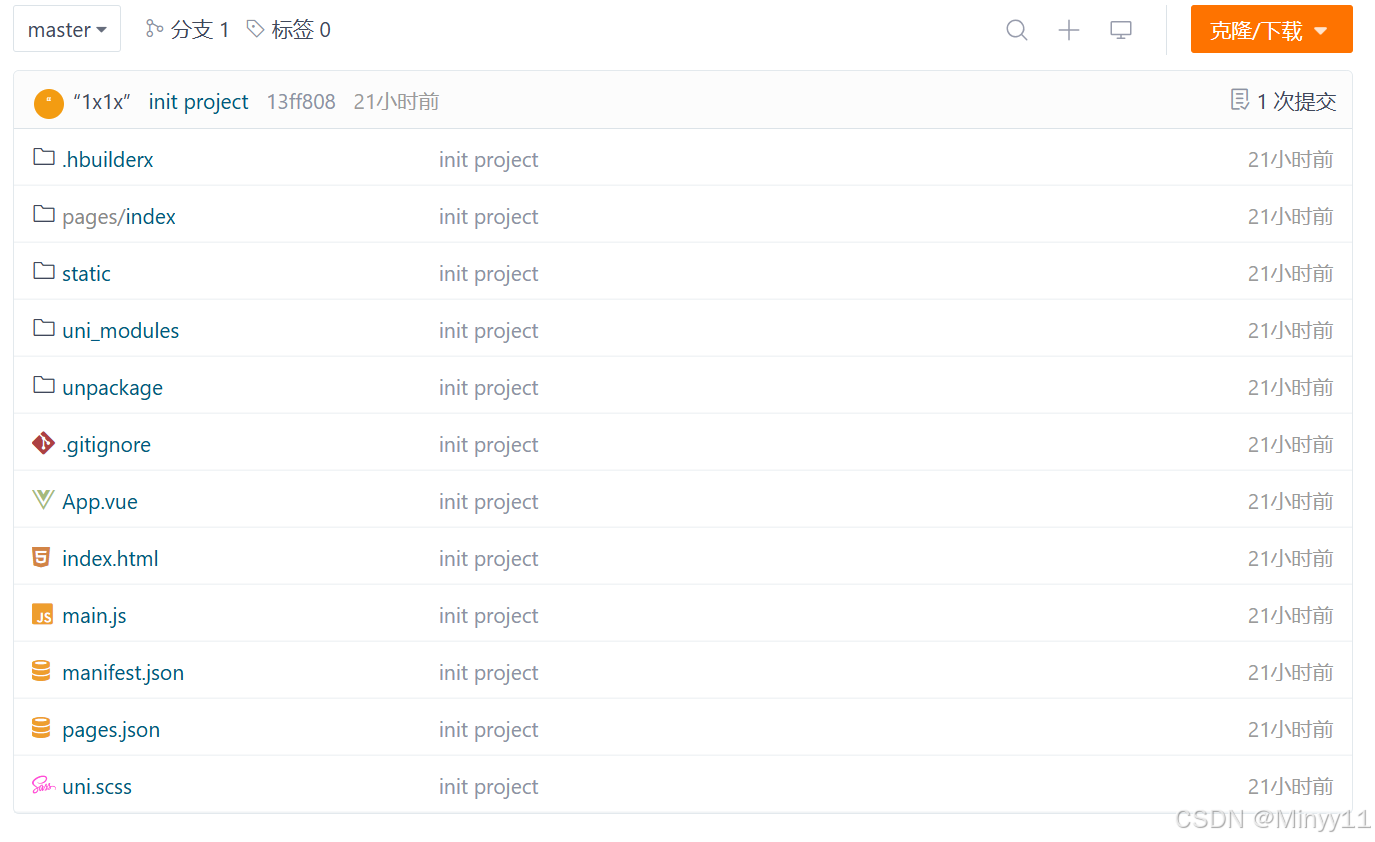
刷新网页显示代码即成功!
注:在进行这几步之前,要先下载git,并进行配置,以及生成ssh密钥,远程仓库的生成!


)


