作者:Sword99
前言
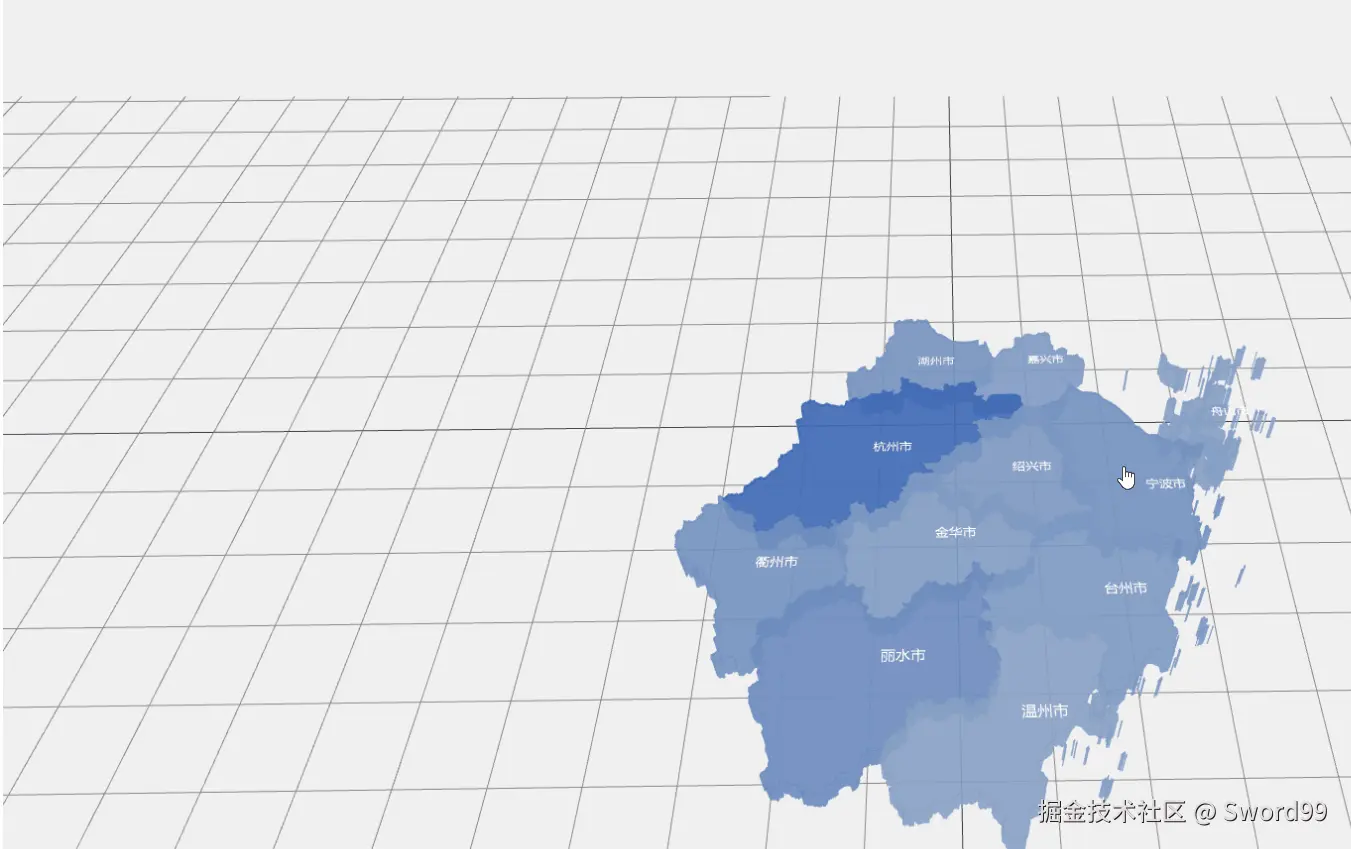
本人前端吗喽一枚, 自从21年毕业后就来到了杭州工作,在杭州也待了3年多了,节假日偶尔也会去杭州省内其他城市旅游,偶尔刷掘金看到 豆包MarsCode,刚好来试用体验一下并结合Threejs实现了浙江省内旅游景点的3D可视化展示(文章末尾会放源码地址)。
项目预览:
- 本项目使用 MarsCode IDE 开发
- 在线预览地址
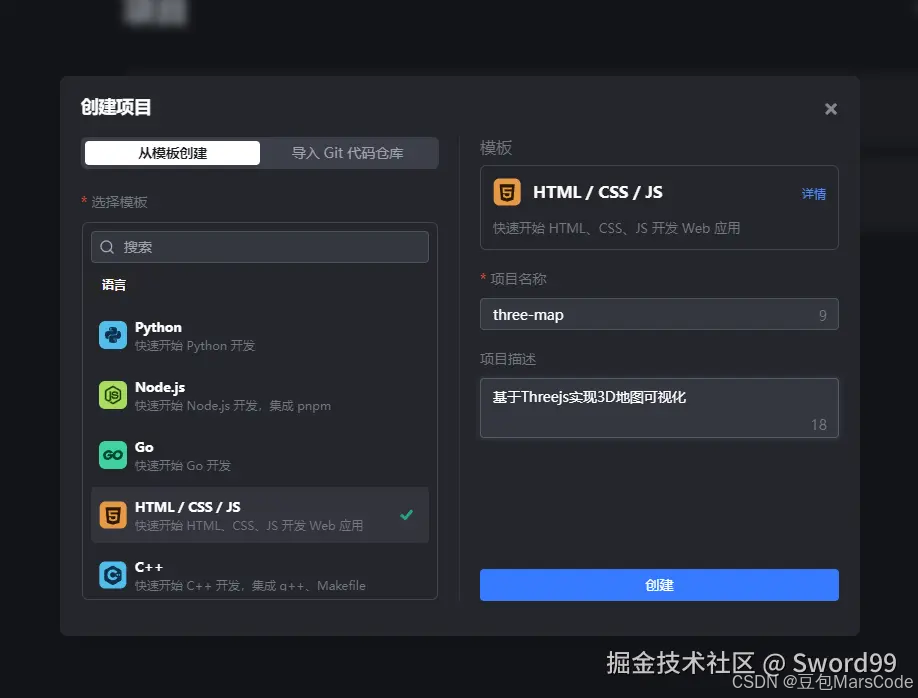
一. 项目初始化
使用 html/css/js 模版。
项目初始化详情(默认安装了vite),点击顶部运行按钮或使用命令行npm run start即可启动项目。
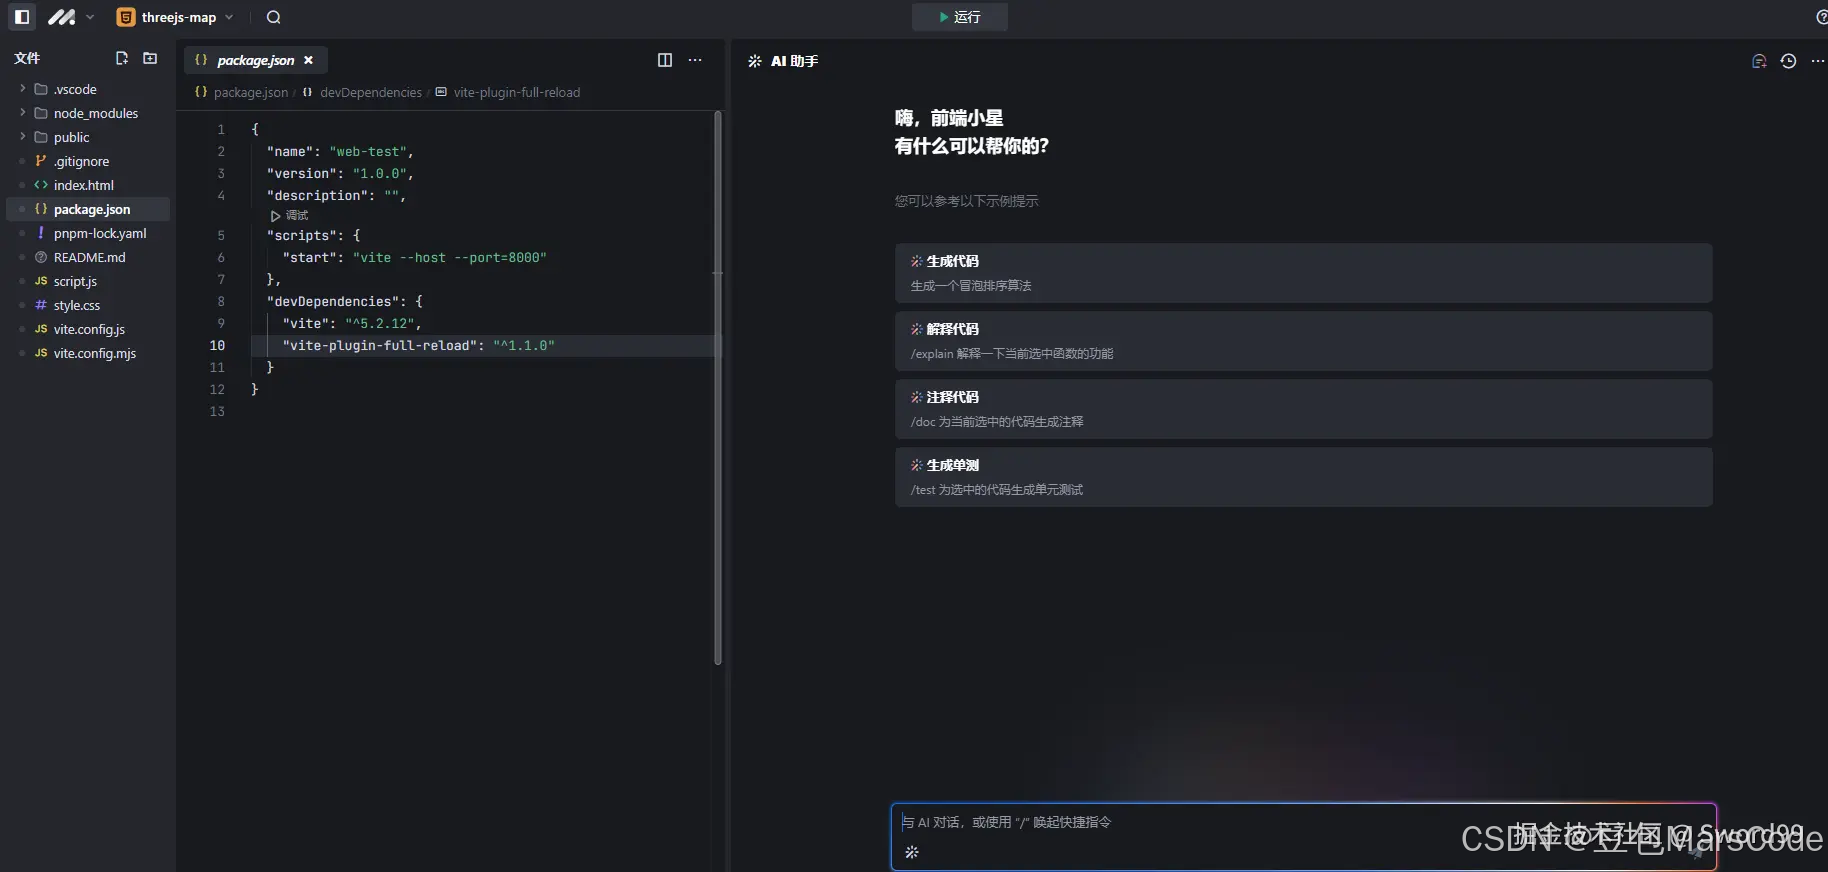
安装项目依赖, package.json概览。
{"name": "web-test","version": "1.0.0","description": "","scripts": {"start": "vite --host --port=8000"},"devDependencies": {"vite": "^5.2.12","vite-plugin-full-reload": "^1.1.0"},"dependencies": {"d3": "^7.9.0","three": "^0.169.0"}
}
二. 代码实现
1. threejs 初始化配置
初始化场景,限制一下control的旋转角度,别的较为基础,没啥好说的。
const renderer = new THREE.WebGLRenderer({antialias: true,canvas: document.querySelector('#container'),});renderer.setSize(window.innerWidth, window.innerHeight);renderer.setPixelRatio(window.devicePixelRatio);const camera = new THREE.PerspectiveCamera(45,window.innerWidth / window.innerHeight,1,500,);const initYDistance = 370;camera.position.set(0, initYDistance, 250);camera.lookAt(0, 0, 250);const controls = new OrbitControls(camera,renderer.domElement,);controls.maxDistance = initYDistance;controls.minDistance = initYDistance;controls.minPolarAngle = Math.PI * 0.05;controls.maxPolarAngle = Math.PI * 0.48;controls.update();// 场景const scene = new THREE.Scene();scene.background = new THREE.Color(0xf0f0f0);const helper = new THREE.GridHelper(2500, 100);scene.add(helper);const color = 0xffffff;const intensity = 1;// 环境光const light = new THREE.AmbientLight(color, intensity);// 加入场景scene.add(light);2. GeoJSON数据的获取
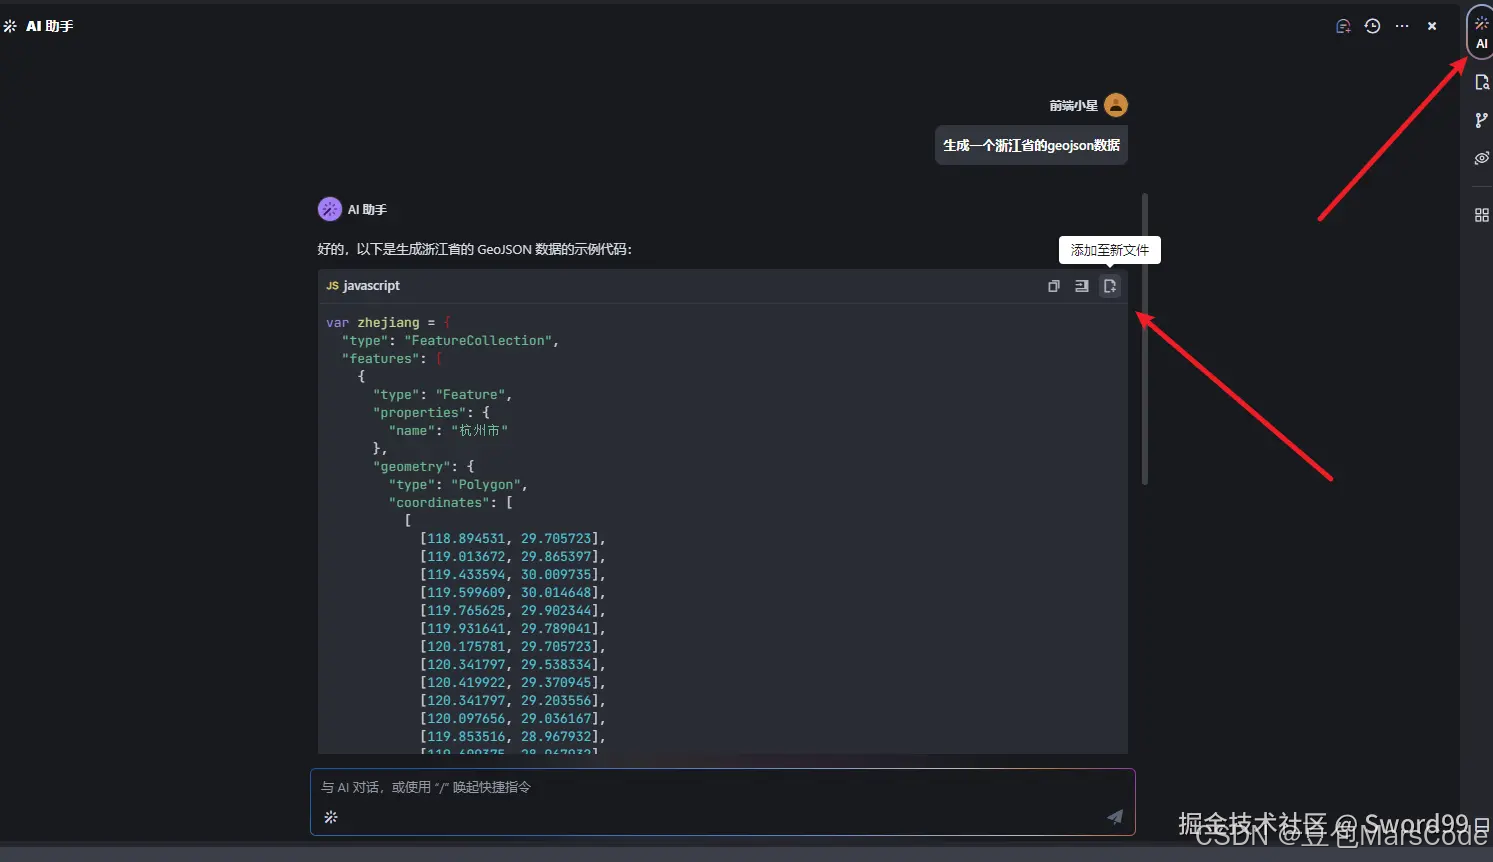
此时我想试试豆包MarsCode 的实力,就点击右侧AI样式的按钮,打开对话框,询问豆包MarsCode。
出乎我意料的是豆包MarsCode 在准确回答的同时还支持保存文件至当前项目目录。
3. GeoJSON数据的解析
Threejs中通常使用FileLoader解析json格式的数据
const loader = new THREE.FileLoader();loader.load('/zhejiang.json', (data) => {const jsondata = JSON.parse(data);resolveData(jsondata);
});
Geojson数据格式浅析
- properties 中name代表当前市名称,center代表坐标位置
- coordinates 数组中是当前市的地理坐标数组
- type代表geometry的类型
    {"type": "FeatureCollection","features": [{"type": "Feature","properties": {"adcode": 330100,"name": "杭州市","center": [120.153576, 30.287459],.......},"geometry": {"type": "MultiPolygon","coordinates": [[[[120.721941, 30.286334],[120.710868, 30.297542],.......]]]}},......]
}
4. 3d地图绘制
地图的3d绘制步骤
- 基于GeoJSON的点坐标数据和Three的Shape类绘制地图的2d轮廓,
- 使用Three的ExtrudeGeometry将2d轮廓拉伸至3d
- 添加地图轮廓线(BufferGeometry)以及各个市的名称(TextGeometry)
具体实现代码
地图轮廓绘制 :
/*** 立体几何图形绘制* @param polygon 多边形点数组* @param color 材质颜色* */
const drawExtrudeMesh = (polygon, color, projection) => {const shape = new THREE.Shape();polygon.forEach((row, i) => {const [x, y] = projection(row);if (i === 0) {shape.moveTo(x, -y);}shape.lineTo(x, -y);});const extrudeGeometry = new THREE.ExtrudeGeometry(shape, {depth: 10,bevelEnabled: false,});const extrudeMeshMaterial = new THREE.MeshBasicMaterial({color,transparent: true,opacity: 0.9,});return new THREE.Mesh(extrudeGeometry, extrudeMeshMaterial);
};
轮廓线绘制 :
/*** 轮廓线图形绘制* @param polygon 多边形点数组* @param color 材质颜色* */
const lineDraw = (polygon, color, projection) => {const lineGeometry = new THREE.BufferGeometry();const pointsArray = new Array();polygon.forEach((row) => {const [x, y] = projection(row);pointsArray.push(new THREE.Vector3(x, -y, 9));});lineGeometry.setFromPoints(pointsArray);const lineMaterial = new THREE.LineBasicMaterial({color: color,});return new THREE.Line(lineGeometry, lineMaterial);
}
市名绘制 :
- f.json是字体文件的json格式,本文使用的是微软雅黑
- 可以通过 facetype.js 将ttf格式的字体文件转化为json格式
(怕麻烦的同学也可以直接求助于豆包MarsCode AI 助手)
/*** * @param {中心点坐标} centerPosition * @param {中心点名称} centerName * @returns */const drawFont = (centerPosition, centerName) => {return new Promise((resolve, reject) => {const loader = new FontLoader();loader.load('/f.json', (font) => {if (!font) {reject('Font loading failed.');return;}const textGeometry = new TextGeometry(centerName, {font: font,size: 0.2,depth: 0.1,bevelEnabled: false,});const textMaterial = new THREE.MeshBasicMaterial({color: '#fff',});const textMesh = new THREE.Mesh(textGeometry, textMaterial);const [x, y] = centerPosition;textMesh.position.set(x, -y, 10);resolve(textMesh);}, undefined, (error) => {reject('Font loading error: ' + error);});})}
5. 交互事件的添加
给各个市添加点击事件,在 ThreeJs 中常用的方式是通过射线来检测当前鼠标是否在某一个mesh上。
坐标归一化: 将 window.click 事件中 event 对象获取的位置参数转化为three中归一化坐标。
/*** 获取鼠标在three.js 中归一化坐标* */
const setPickPosition = (event) => {let pickPosition = { x: 0, y: 0 };pickPosition.x =(event.clientX / renderer.domElement.width) * 2 - 1;pickPosition.y =(event.clientY / renderer.domElement.height) * -2 + 1;return pickPosition;
}
射线检测:
let lastPick = null; // 上一次点击的meshlet lastPickColor = "" // 上一次点击mesh的颜色// 鼠标点击事件const onRay = (event) => {let pickPosition = setPickPosition(event);const raycaster = new THREE.Raycaster();raycaster.setFromCamera(pickPosition, camera);// 计算物体和射线的交点const intersects = raycaster.intersectObjects([map], true);const intersectExtudeMesh = intersects.find((item) => {return item.object.geometry.type === "ExtrudeGeometry"})// 数组大于0 表示有相交对象if (intersectExtudeMesh) {if (lastPick && lastPickColor) {if (lastPick.object.properties !==intersectExtudeMesh.object.properties) {lastPick.object.material.color.set(lastPickColor);lastPick = intersectExtudeMesh;lastPickColor = JSON.parse(JSON.stringify(intersectExtudeMesh.object.material.color));intersectExtudeMesh.object.material.color.set('#c699aa');} else {lastPick.object.material.color.set(lastPickColor);lastPick = null;lastPickColor = "";setToolTip('')return}} else {lastPick = intersectExtudeMesh;lastPickColor = JSON.parse(JSON.stringify(intersectExtudeMesh.object.material.color));intersectExtudeMesh.object.material.color.set('#c699aa');}setToolTip(intersectExtudeMesh.object.properties)} else {if (lastPick && lastPickColor) {// 复原if (lastPick.object.properties) {lastPick.object.material.color.set(lastPickColor);lastPick = null;}}setToolTip('')}}根据点击的mesh展示相应的信息
/*** 景点信息展示* @param {市名} proviceName */
const setToolTip = (proviceName) => {const tooltip = document.getElementById('tooltip')if (proviceName) {tooltip.style.display = 'block'generateDom(tooltip,proviceName,travelData.find((item) => item.city === proviceName)?.attractions)} else {tooltip.style.display = 'none'}
}
绑定click事件
// 监听鼠标click事件
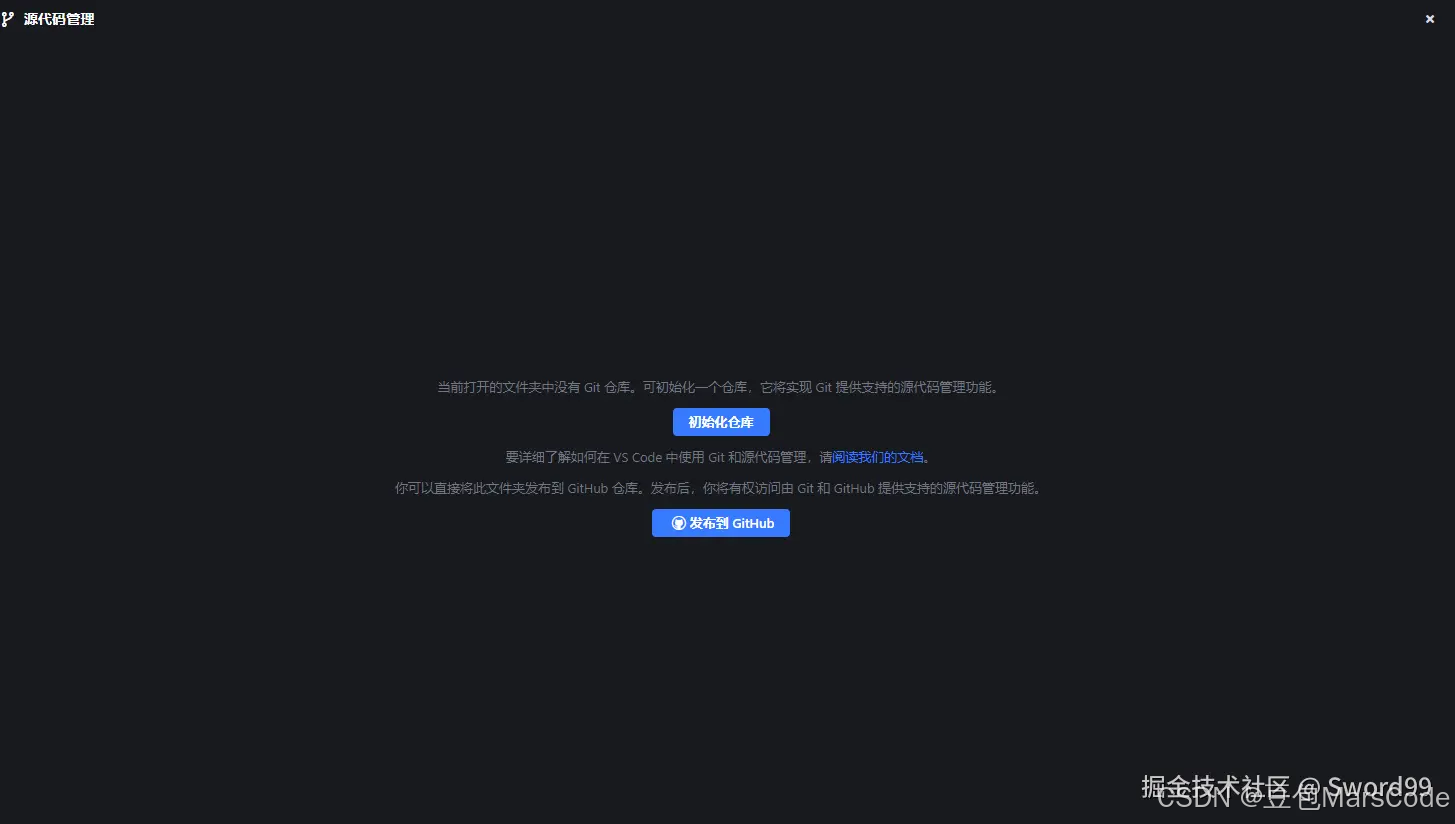
window.addEventListener('click', onRay)三. 项目提交至仓库
豆包MarsCode支持代码上传到github,配置好认证信息就可以提交啦!
四. 结语
就这个项目而言,豆包MarsCode 给我的使用感觉:
优点:
- 初始化模版丰富,方便快速开发
- AI交互也还可以,支持直接生成文件至项目目录,这个确实挺方便
- 代码提示准确度也还不错
如果大家感兴趣可以点击下方链接自行体验一下,欢迎大家在评论区交流,希望可以一键三连!


