目录
1. 引言
2. 环境准备
3. 数据库设置
4. Flask 应用基本配置
5. 实现用户注册
6. 实现用户登录
7. 路由配置
8. 创建前端页面
9. 结论
1. 引言
在这篇文章中,我们将使用 Flask 框架创建一个简单的登录和注册系统。Flask 是一个轻量级的 Python Web 框架,适合快速开发 Web 应用。
2. 环境准备
-
安装 Flask:可以通过 pip 安装 Flask 和相关依赖:
pip install Flask以下是具体配置
-
from flask import Flask, render_template, request, render_template_string, redirect, url_for from flask_mysqldb import MySQL from werkzeug.security import generate_password_hash, check_password_hash from config import Config # 导入配置文件 -

-
创建项目结构:
flask_demologin/
├── app.py
├── config.py
├── templates/
│   ├── login.html
│   ├── res.html
│   └── index.html
└── static/└── css/└── img/
3. 数据库设置
- 使用 MySQL:
- 创建数据库及用户表。
CREATE DATABASE demologin;
USE demologin;CREATE TABLE users (id INT AUTO_INCREMENT PRIMARY KEY,username VARCHAR(100) NOT NULL UNIQUE,password VARCHAR(255) NOT NULL
);
4. Flask 应用基本配置
- config.py 文件配置数据库连接:
class Config:
MYSQL_HOST = 'localhost'
MYSQL_USER = 'root'  # 替换为你的 MySQL 用户名
MYSQL_PASSWORD = 'root'  # 替换为你的 MySQL 密码
MYSQL_DB = 'demologin' # 替换为你的 数据库名称
5. 实现用户注册
- 在 app.py 中创建注册路由:
@app.route('/register', methods=['POST'])
def register():name = request.form.get('username')pwd = request.form.get('password')if not name or not pwd:return render_template_string("用户名和密码不能为空,<a href='/'>返回登录</a>"), 400cur = mysql.connection.cursor()cur.execute("SELECT * FROM users WHERE username = %s", (name,))user = cur.fetchone()if user:return render_template_string("用户名已存在,<a href='/'>返回登录</a>"), 400hashed_pwd = generate_password_hash(pwd)cur.execute("INSERT INTO users (username, password) VALUES (%s, %s)", (name, hashed_pwd))mysql.connection.commit()cur.close()return render_template_string("注册成功,<a href='/'>返回登录</a>"), 201
6. 实现用户登录
- 在 app.py 中创建登录路由:
@app.route('/login', methods=['POST'])
def login():name = request.form.get('username')pwd = request.form.get('password')if not name or not pwd:return render_template_string("用户名和密码不能为空,<a href='/'>返回注册</a>"), 400cur = mysql.connection.cursor()cur.execute("SELECT * FROM users WHERE username = %s", (name,))user = cur.fetchone()if user and check_password_hash(user[2], pwd):  # user[2] 是密码字段return redirect(url_for('home'))  # 登录成功,重定向到主页else:return "用户名或密码错误", 401
7. 路由配置
- 设置首页和重定向:
@app.route('/') def home():return render_template('index.html') # 渲染主页模板- 设置登录页面和注册页面和重定向:
@app.route('/')
def Index_login():  # put application's code herereturn render_template('login.html')@app.route('/res')
def Index_res():  # put application's code herereturn render_template('res.html')
8. 创建前端页面
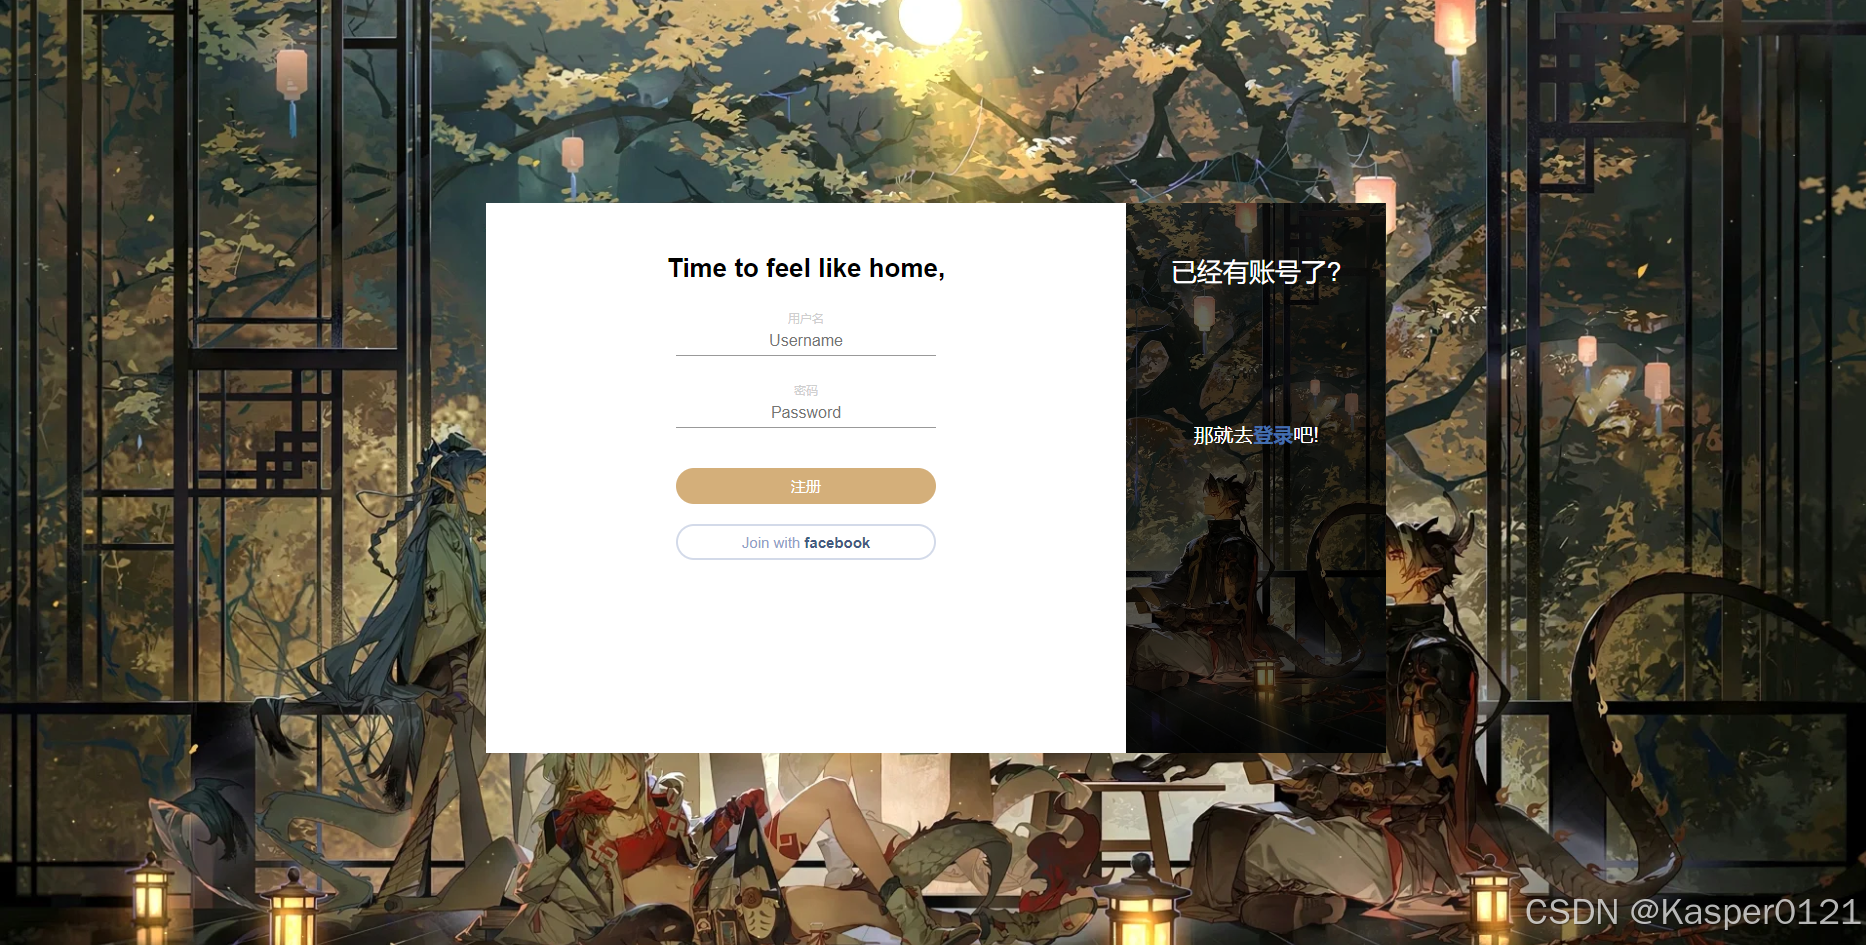
- login.html 和 res.html 的简单示例:
<!-- login.html -->
<div class="cont-parent"> <div class="cont"><div class="form sign-in"><h2>Welcome back, Doctor</h2><form action="/login" method="post"><label><span>用户名</span><input type="text" name="username" placeholder="Username" required/></label><label><span>密码</span><input type="password" name="password" placeholder="Password" required/></label><button type="submit" class="submit">登录</button></form><p class="forgot-pass">忘记密码?</p><button type="button" class="fb-btn">链接 <span>facebook</span></button></div><div class="sub-cont"><div class="img"><div class="img__text m--up"><h2>刚来?</h2><p>那就<a href="/res">注册</a>一个吧!</p></div></div></div></div></div><!-- res.html -->
<div class="cont-parent"> <div class="cont"><div class="form sign-in"><h2>Time to feel like home,</h2><form action="/register" method="post"><label><span>用户名</span><input type="text" name="username" placeholder="Username" required/></label><label><span>密码</span><input type="password" name="password" placeholder="Password" required/></label><button type="submit" class="submit">注册</button></form><button type="button" class="fb-btn">Join with <span>facebook</span></button></div><div class="sub-cont"><div class="img"><div class="img__text m--up"><h2>已经有账号了?</h2><p>那就去<a href="/">登录</a>吧!</p></div></div></div></div></div>
9. 结论
通过本文,我们实现了一个基本的登录和注册功能。
以下是实现的效果图(前端靠大家自由发挥,提供的html代码进作为参考)