背景需求
以下代码尝试制作了竖版的图案,贴入长方形单元格里。尽量把图案最大化(白边少一点)
【教学类-102-16】瓶子外轮廓01——Python瓶子竖图三色图(取图片最大的长宽做背景图、WORD长方形单元格)-CSDN博客文章浏览阅读566次,点赞11次,收藏9次。【教学类-102-16】瓶子外轮廓01——Python瓶子竖图三色图(取图片最大的长宽做背景图、WORD长方形单元格)https://blog.csdn.net/reasonsummer/article/details/147338198?spm=1011.2415.3001.5331
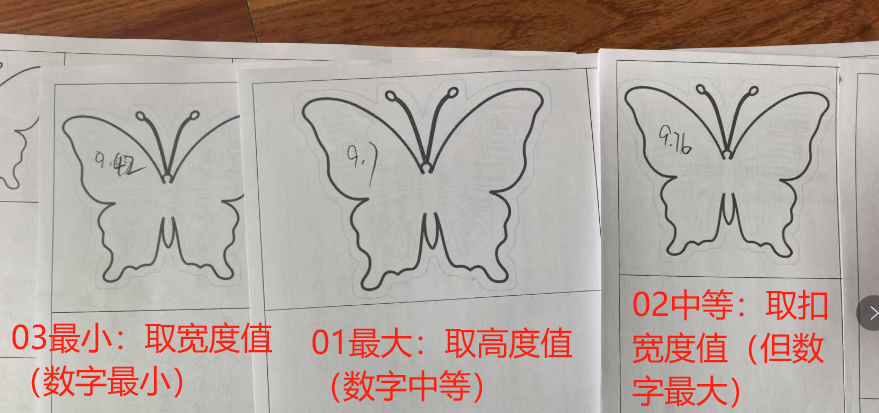
同样方式再测试蝴蝶,实际上蝴蝶也不是正方形(1000*1000)而是“横版长方形图案(高小于宽)”
把182张图线做一下三线图,做成统一图,了解最大长宽,
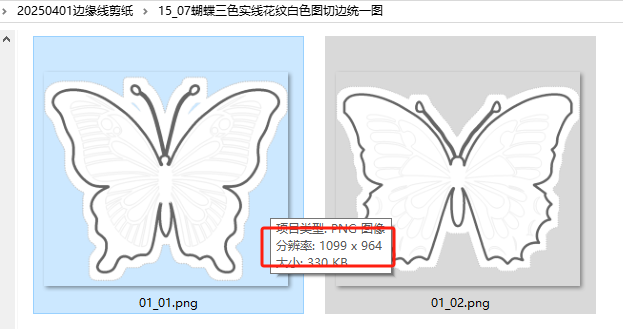
蝴蝶统一图尺寸(1099*943),宽度略大于高度
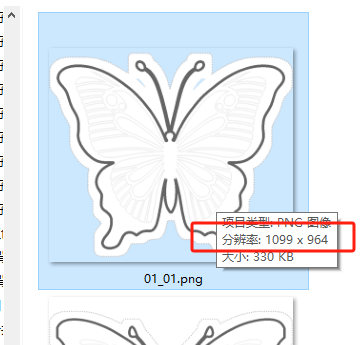
结果最大长款是1099*964,近似1000*1000,但长大于宽。

可以根据这种”横向长方形图案“,重新制作模板,
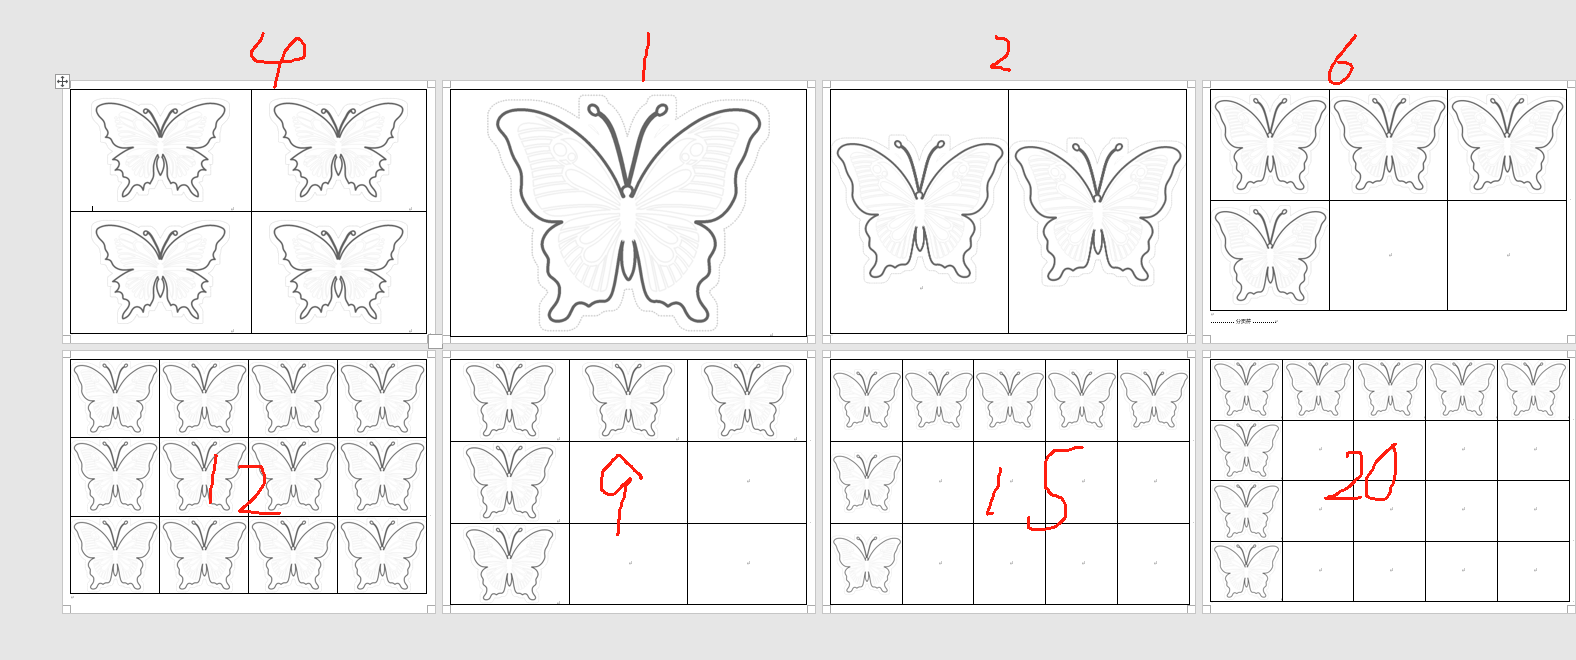
根据最后的长宽,重新订制WORD模版——设计横板或竖版的所有可能平均分布格子
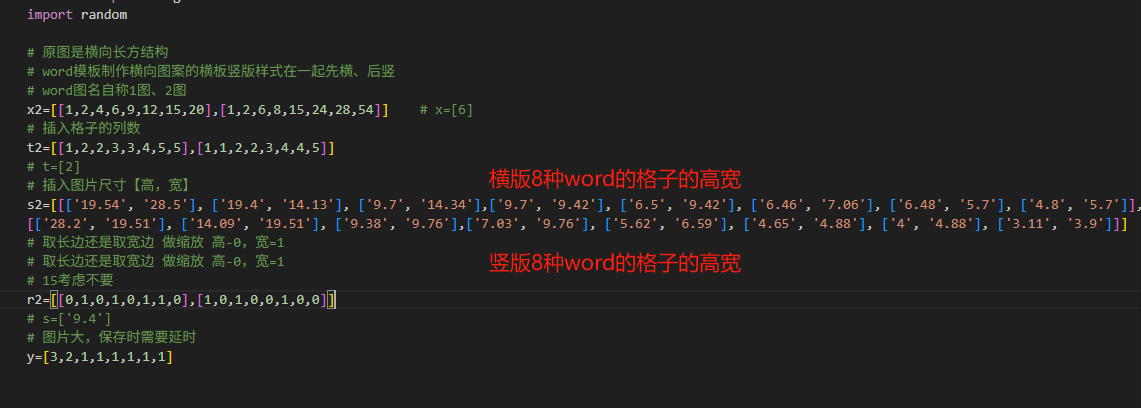
横版的所有格子样式(8个)
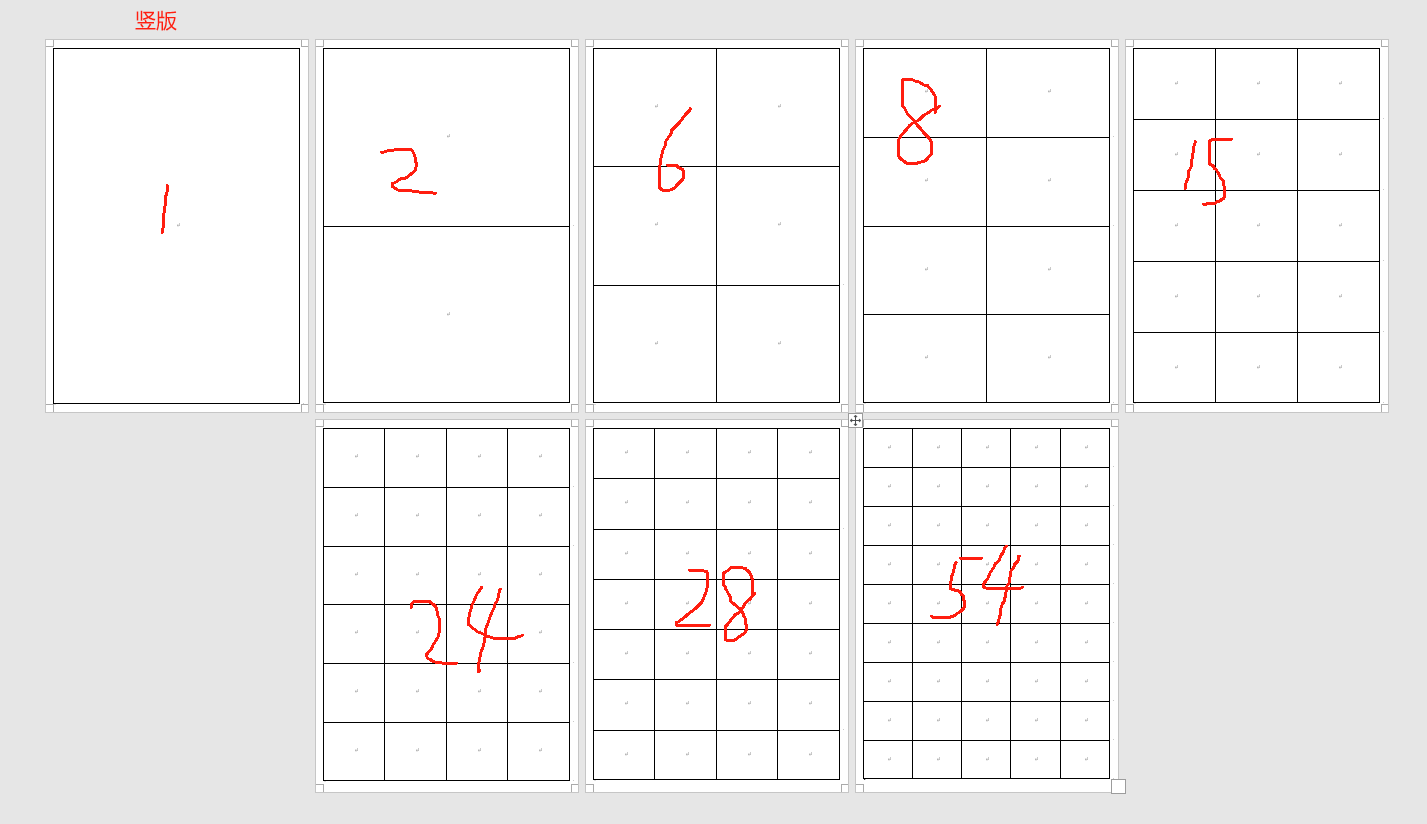
竖版的所有格子样式(8个)
一个个拆分成单个的word模板
具体的参数
代码里面做一下限定
选择1、制作统一图,了解最大长宽,然后重置WORD模版,修改第二部分代码(做成两种)

再运行,选择2,开始吧已经已有的统一图,批量做到1、2、4、6……图中。
'''
优化版
剪纸外轮廓描边虚线制作(黑点虚线)沿线剪——最终稳定版
将图片变成三色(透明、黑色、蓝色)或黑白色也可以
先把255白背景图片背景部分白色放大,然后(蝴蝶)做成透明图,及点状虚线,透明\切边\统一大小,保存1图2图4图24图,虚线与上下左右有空隙
黑线在透明与非透明交界线上,透明部分5磅,非透明不放呢5磅,
将非透明部分改成纯白色,没有任何灰色。
将三色图的外轮廓和内部花纹边线都显示出来。
三种线(花纹线、轮廓线、点状虚线)都可以单独设置颜色灰度和粗细。
竖版图(瓶子都是竖长条,尝试获取所有图片的最大长宽,制作来统一背景图),再插入竖版1图2图4图8图
选择1,获取统一图大小,修改WORD里面单元格样式。
选择2,把统一图做到WORD多图内(横板8种,竖版8种))deepseek,阿夏
20250423
'''
from PIL import Image, ImageDraw
import os
import math
x=int(input('1.统一图,2、多图\n'))print('------0、基本信息-----')
# 主路径
path = r'C:\Users\jg2yXRZ\OneDrive\桌面\20250401边缘线剪纸'
# path=r'D:\图片\20240614蛋筒彩蛋# 图片夹名称
a='15'
b='蝴蝶三色'
c='实线花纹白色图'# 保存
all=path+fr'\{a}_10{b}合并图'# 参数设置# 1、内部花纹框
# 花纹边框颜色((内部)
cchw=240
# 调整蓝色区域边框宽度(像素)
blue_width = 4 # 2、轮廓线
# 轮廓线黑线边框颜色(中间150,150,150)
ccn=100
# 轮廓线的宽度
mb_border_width = 10 # 黑边宽度(像素)
w=int(mb_border_width/2) # 内5外5# 3、点状虚线裁剪边
# 点状虚线边框颜色(外边)
ccw=200
# 白色描边宽度(像素)轮廓线外层
white_border_width = 30
# 黑点直径(像素)
dot_size = 5 # # 黑点间距(像素)增加间距确保均匀分布
dot_spacing = dot_size * 2# 4、裁剪时不保留额外透明边距
transparent_edge = 0 # 裁剪时不保留额外透明边距# 5、画布尺寸放大
target_width = 2000 # 统一宽度
target_height =target_width # 统一高度
background_expand = 1000 # 白色背景放大尺寸# 定义文件夹路径
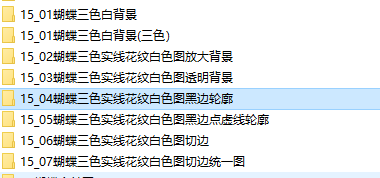
in_folder = os.path.join(path,f'{a}_01{b}白背景') # 原始图片(白背景)
big_folder = os.path.join(path, f'{a}_02{b}{c}放大背景') # 放大背景输出
transparent_folder = os.path.join(path, f'{a}_03{b}{c}透明背景') # 透明背景输出
output_folder = os.path.join(path, f'{a}_04{b}{c}黑边轮廓') # 最终输出
dotput_folder = os.path.join(path, f'{a}_05{b}{c}黑边点虚线轮廓') # 最终输出
input_folder = output_folder # 原始图片文件夹
cropped_folder = os.path.join(path,f'{a}_06{b}{c}切边') # 裁剪后的透明图片
final_folder = os.path.join(path,f'{a}_07{b}{c}切边统一图')# 创建输出文件夹
os.makedirs(all, exist_ok=True)
os.makedirs(output_folder,exist_ok=True)
os.makedirs(dotput_folder, exist_ok=True)
os.makedirs(big_folder,exist_ok=True)
os.makedirs(cropped_folder, exist_ok=True)
os.makedirs(final_folder , exist_ok=True)
os.makedirs(transparent_folder, exist_ok=True)
os.makedirs(output_folder, exist_ok=True)# 灰线深浅测试
# for cr3 in range(cchw,cchw+10,10):# 黑色边框颜色# 灰色
if x==1:# 中线(内) rrw=ggw=bbw=ccwrrn=ggn=bbn=ccnrrh=ggh=bbh=cchw# rrn,ggn,bbn=ccn,ccn,ccn# # 花纹边框颜色# 灰色# rrh,ggh,bbh=cchw,cchw,cchw print('------1、白色PNG背景放大一点-----')# 遍历输入文件夹中的所有PNG文件for filename in os.listdir(in_folder):if filename.lower().endswith('.png'):# 打开原始图片input_path = os.path.join(in_folder, filename)with Image.open(input_path) as img:original_width, original_height = img.size# 创建新画布(长宽各+200,白色背景)new_width = original_width + background_expandnew_height = original_height + background_expandnew_image = Image.new('RGB', (new_width, new_height), (255, 255, 255))# 计算粘贴位置(居中)paste_x = (new_width - original_width) // 2paste_y = (new_height - original_height) // 2# 将原始图片粘贴到新画布上new_image.paste(img, (paste_x, paste_y), img if img.mode == 'RGBA' else None)# 保存结果big_path = os.path.join(big_folder, filename)new_image.save(big_path)print('------2、白色PNG背景变成透明-----')def process_image_to_transparent(file_path):img = Image.open(file_path)img = img.convert("RGBA")datas = img.getdata()new_data = []for item in datas:if item[0] == 255 and item[1] == 255 and item[2] == 255:new_data.append((255, 255, 255, 0))elif item[0] == 254 and item[1] == 255 and item[2] == 255:new_data.append((254, 255, 255, 0))else:new_data.append(item)img.putdata(new_data)return imgprint("正在转换白背景为透明背景...")for file_name in os.listdir(big_folder):if file_name.lower().endswith((".png", ".jpg", ".jpeg")):input_file_path = os.path.join(big_folder, file_name)output_file_path = os.path.join(transparent_folder, file_name)processed_image = process_image_to_transparent(input_file_path)processed_image.save(output_file_path)print(f"已处理: {file_name}")print('------3、添加双色不同宽度实线轮廓-----')def convert_to_white(image):"""将所有非透明像素强制转换为纯白色,并确保完全透明像素为(0,0,0,0)"""img = image.convert("RGBA")datas = img.getdata()new_data = []for item in datas:if item[3] > 0: # 不透明像素new_data.append((255, 255, 255, 255)) # 纯白else:new_data.append((0, 0, 0, 0)) # 完全透明img.putdata(new_data)return imgdef get_edge_pixels(image):"""获取图像中不透明像素与透明像素交界的边缘像素坐标"""edge_pixels = []pixels = image.load()width, height = image.sizefor y in range(height):for x in range(width):if pixels[x, y][3] > 0: # 不透明像素for dx, dy in [(-1,0),(1,0),(0,-1),(0,1)]: # 4邻域检查nx, ny = x+dx, y+dyif 0 <= nx < width and 0 <= ny < height:if pixels[nx, ny][3] == 0: # 邻域透明edge_pixels.append((x, y))breakreturn edge_pixelsdef create_border_mask(edge_pixels, width, height, border_width):"""创建指定宽度的边框遮罩"""border_pixels = set()w = border_width // 2 # 半径for x, y in edge_pixels:# 创建圆形画笔效果for dy in range(-w, w+1):for dx in range(-w, w+1):nx, ny = x+dx, y+dyif 0 <= nx < width and 0 <= ny < height:dist = (dx**2 + dy**2)**0.5if dist <= w:border_pixels.add((nx, ny))return border_pixelsdef draw_dual_width_border(image, normal_border_pixels, cyan_border_pixels):"""绘制不同宽度的双色边框"""border_layer = Image.new('RGBA', image.size, (0, 0, 0, 0))pixels = border_layer.load() # # 先绘制较宽的普通边框 (10磅/13像素)for x, y in normal_border_pixels:pixels[x, y] = (rrn, ggn, bbn, 255) # 普通边框颜色# 再绘制较窄的蓝色区域边框 (6磅/8像素),这会覆盖重叠部分for x, y in cyan_border_pixels:pixels[x, y] = (rrh,ggh,bbh, 255) # 蓝色部分边框颜色return border_layerdef add_dual_width_border(input_path, output_path):"""处理单个图像,添加不同宽度的双色边框"""original = Image.open(input_path).convert('RGBA')width, height = original.size# 0. 首先识别原图中的(0,255,255)区域边界original_pixels = original.load()cyan_edges = set()for y in range(height):for x in range(width):if original_pixels[x, y][3] > 0: # 不透明像素# 检查是否是(0,255,255)if original_pixels[x, y][0] == 0 and original_pixels[x, y][1] == 255 and original_pixels[x, y][2] == 255:# 检查4邻域是否有非(0,255,255)的不透明像素for dx, dy in [(-1,0),(1,0),(0,-1),(0,1)]:nx, ny = x+dx, y+dyif 0 <= nx < width and 0 <= ny < height:if original_pixels[nx, ny][3] > 0 and not (original_pixels[nx, ny][0] == 0 and original_pixels[nx, ny][1] == 255 and original_pixels[nx, ny][2] == 255):cyan_edges.add((x, y))break# 1. 将所有非透明像素转为纯白色white_image = convert_to_white(original)# 2. 获取透明与不透明的边缘edge_pixels = get_edge_pixels(white_image)# # 3. 创建不同宽度的边框区域# mb_border_width = 20 # 10磅 ≈ 13像素# blue_width = 8 # 6磅 ≈ 8像素normal_border_pixels = create_border_mask(edge_pixels, width, height, mb_border_width)cyan_border_pixels = create_border_mask(list(cyan_edges), width, height, blue_width)# 4. 绘制不同宽度的双色边框border_layer = draw_dual_width_border(white_image, normal_border_pixels, cyan_border_pixels)# 5. 合成结果result = Image.alpha_composite(white_image, border_layer)# 6. 最终清理result_data = result.getdata()final_data = []for item in result_data:if item[3] == 0: # 透明final_data.append((0, 0, 0, 0))elif item[:3] == (rrn, ggn, bbn): # 蓝色部分边框final_data.append((rrn, ggn, bbn, 255))elif item[:3] == (rrh,ggh,bbh): # 普通边框final_data.append((rrh,ggh,bbh, 255))else: # 白色final_data.append((255, 255, 255, 255))result.putdata(final_data)result.save(output_path, fo)

)


